

NZ Campervan Trip Plan
I hope you find this itinerary useful! I carefully planned each day to highlight some of the most breathtaking landscapes of New Zealand's South Island, featuring leisurely mornings to savour the views right from your campervan and travel days with more driving, beginning in Christchurch. Although this trip doesn't include strenuous hikes, I've included suggestions for longer hikes for those interested. Remember, no matter how you choose to explore New Zealand, whether it’s simply driving around or diving deep into activities, you’re bound to have a fantastic time. It's a stunning country with plenty to do for everyone. If you have any questions or need more tips, feel free to message me on Instagram at @sabrinaallam_
Exploring NZ in a Campervan
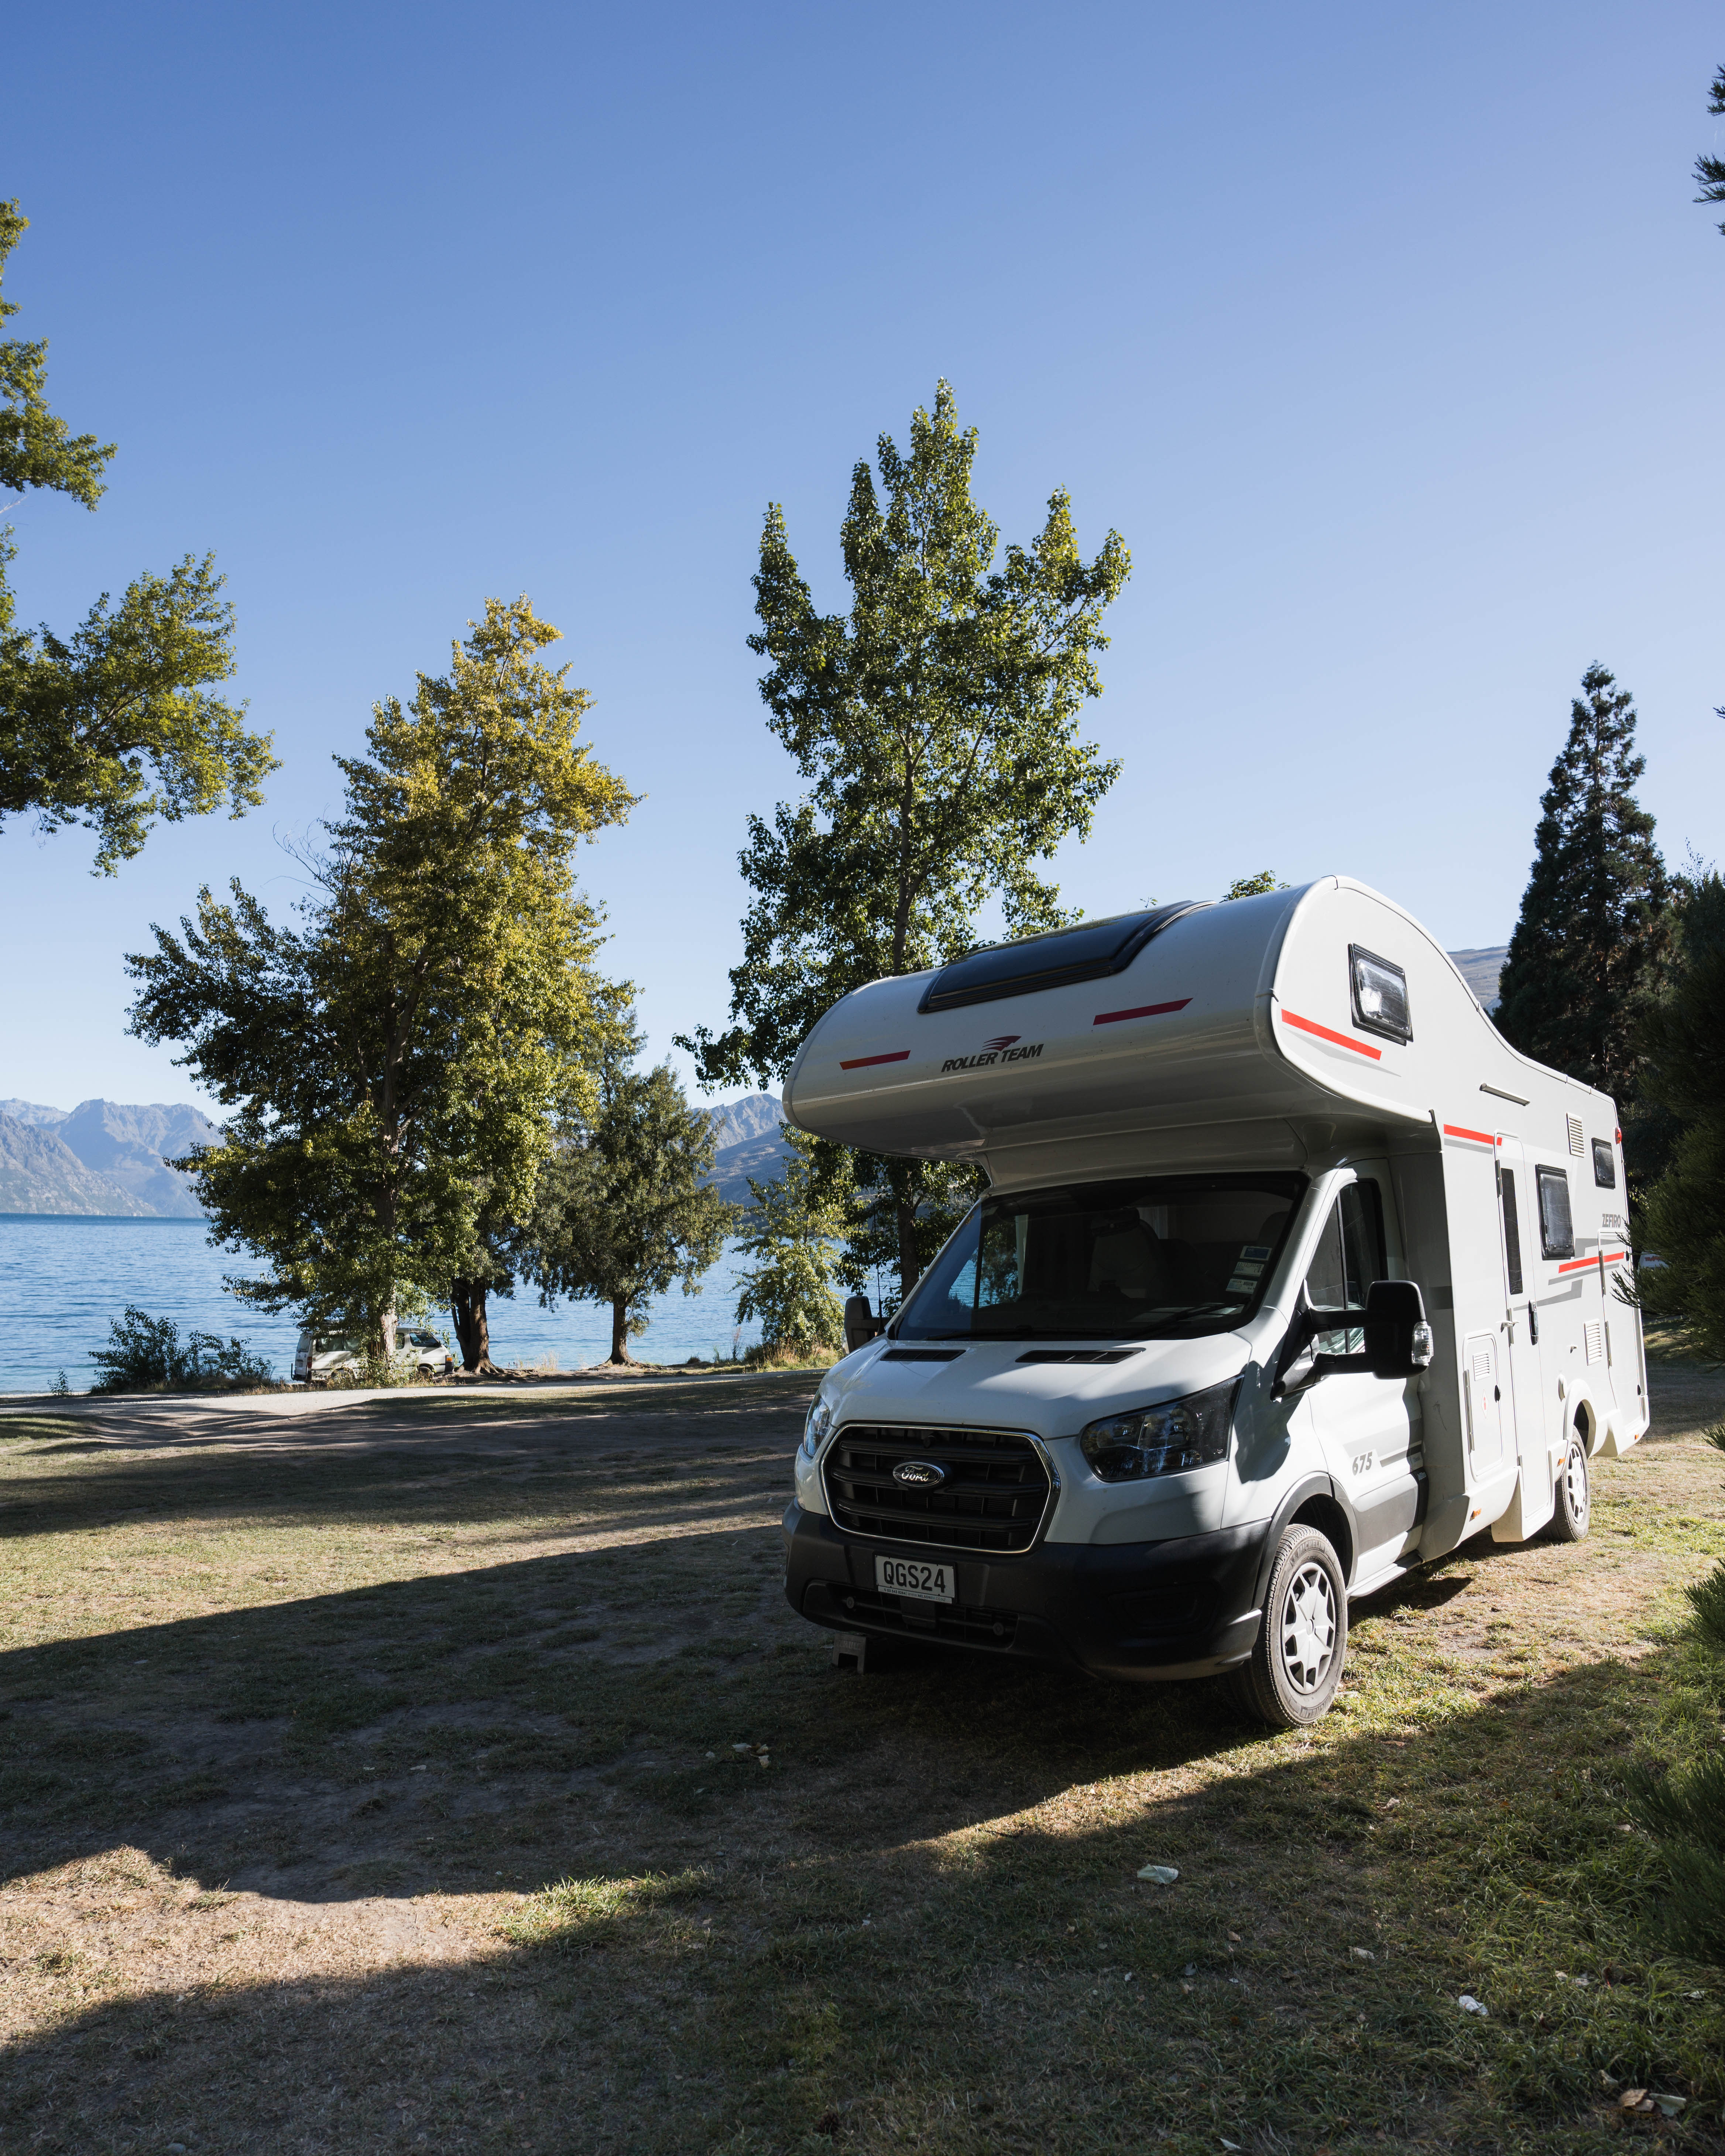
Travelling in a campervan offers unmatched freedom, flexibility, and intimacy with nature. This mode of travel allows you to wake up surrounded by breathtaking landscapes, providing a personalised adventure at your own pace. Whether it's watching the sunrise over the mountains directly from your bed or enjoying breakfast with scenic landscapes, the campervan experience is the epitome of a road-trip adventure amidst New Zealand’s incredible landscapes.
While it is not always the cheapest option compared to other forms of travel, campervans offer significant value through the convenience of having your transportation and accommodation combined. This setup allows for spontaneous explorations and overnight stays in remote, picturesque locations.
Camplify Booking Information
I booked my Motorhome through Camplify, which operates much like Airbnbs, but for campervans. This platform allows van owners to list their vehicles, offering a range from basic 2-person vans to luxurious 6-person motorhomes with full facilities. This variability means that pricing can differ based on what you're looking for, ensuring you can find something that fits your needs and budget.
Camping Types in New Zealand
- Freedom Camping: Allowed in specific locations for self-contained vehicles only. A self-contained vehicle is equipped with onboard water tanks, waste water storage, and a toilet, ensuring that no waste is left in the environment. Freedom camping offers the most authentic experience with minimal facilities. Many freedom camping spots are free, although some areas may charge a small fee.
- Powered Sites: Provide electrical hookups for campervans, often part of a campground with amenities like showers and kitchens.
- Non-Powered Sites: Do not offer electricity but may have other communal facilities; typically cheaper than powered sites.
- DOC Campsites: Managed by the government, these range from basic to developed, often located in scenic areas ideal for outdoor activities. DOC sites generally have a small fee, which helps maintain the facilities and support conservation efforts.
- Holiday Parks: Offer extensive facilities including kitchens, laundry, and recreational areas, ideal for families or those seeking comfort.
Useful Apps for South Island Road Trips
When planning a road trip in New Zealand, especially in a campervan, having the right apps can help you along the journey. I used these two apps regularly during the 9 days:
1. CamperMate
- Provides offline maps and details on campgrounds, freedom camp spots, powered sites, dump stations, and public toilets. CamperMate also offers real-time alerts for road closures and weather conditions, making it an invaluable tool for planning and while you’re on road.
2. Rankers Camping NZ
- This app distinguishes between paid and free camping spots, DOC campsites, powered sites, and locations of dump stations and more. It includes user reviews and great filtering options, simplifying the planning process and ensuring you find the right spot for your needs.
Cost Breakdown
For your campervan rental, costs can range from $150 per day for a compact 2-person campervan, ideal for couples or solo travellers, to $490 per day (peak season) for spacious 6-person motorhomes, perfect for larger groups or people seeking extra comfort. The choice depends on your personal preferences and needs.
Here’s a breakdown of my trip expenses. With some careful planning, you might find ways to manage your budget more efficiently than I did!
You’ll need to add flights to this depending where you’re coming from.
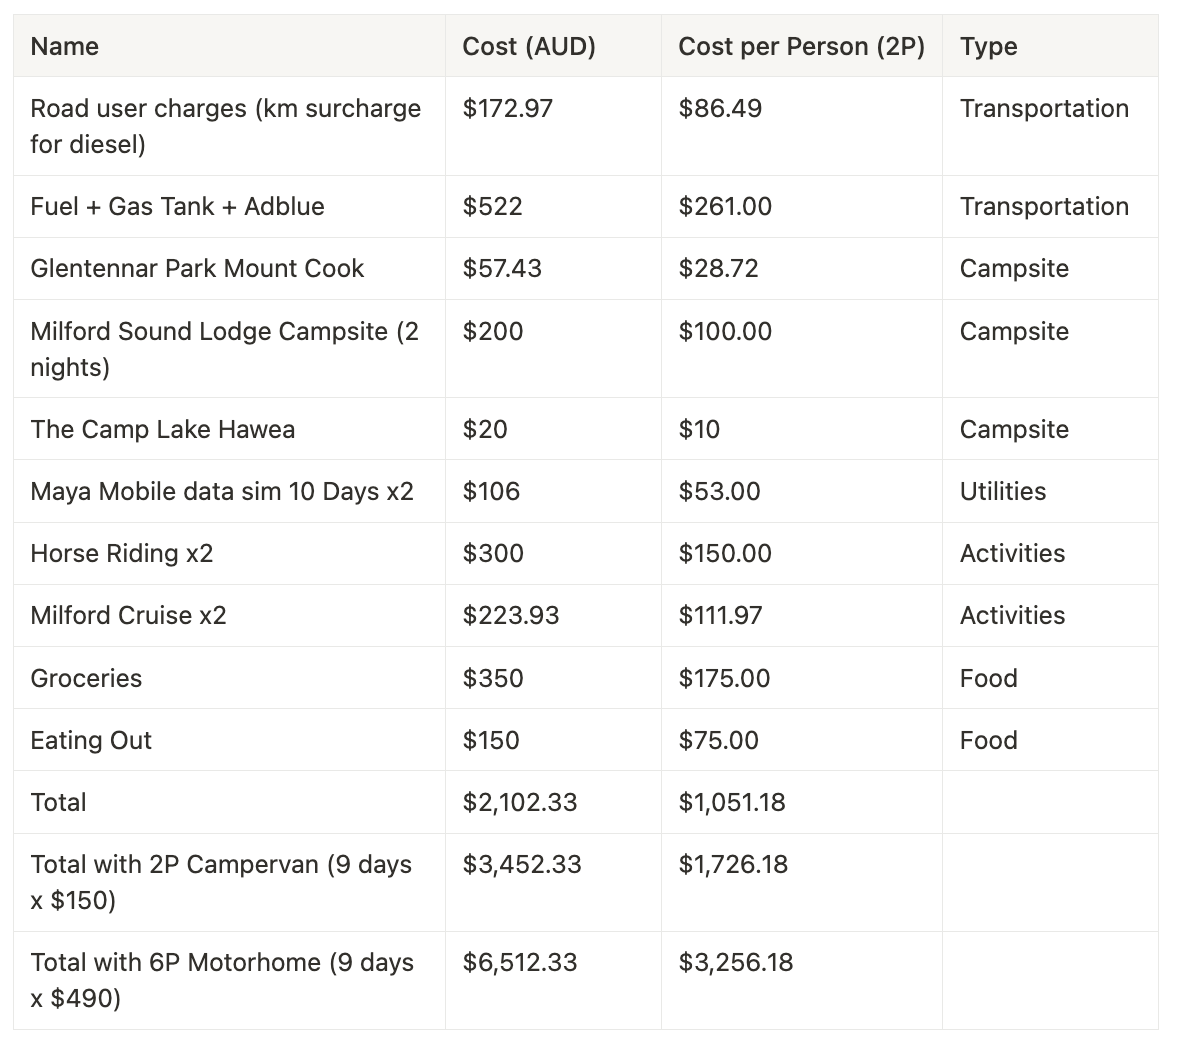
The costs listed in this guide are based on our personal experiences and may vary. Prices can change depending on numerous factors like the type of camper rented, the season you travel, your departure location, the size of your group, and your daily expenses. Please use the provided figures as a general guide and adjust them according to your specific situation.
Camplify also has an excellent article that breaks down further costs and provides detailed information on budget-friendly vans. If you’re interested, it’s definitely worth checking out! Read it here
Day 1 | Christchurch to Lake Pukaki
Route: Christchurch to Lake Pukaki
Time Driving: ⏱️ 3 hours 📏 227 km
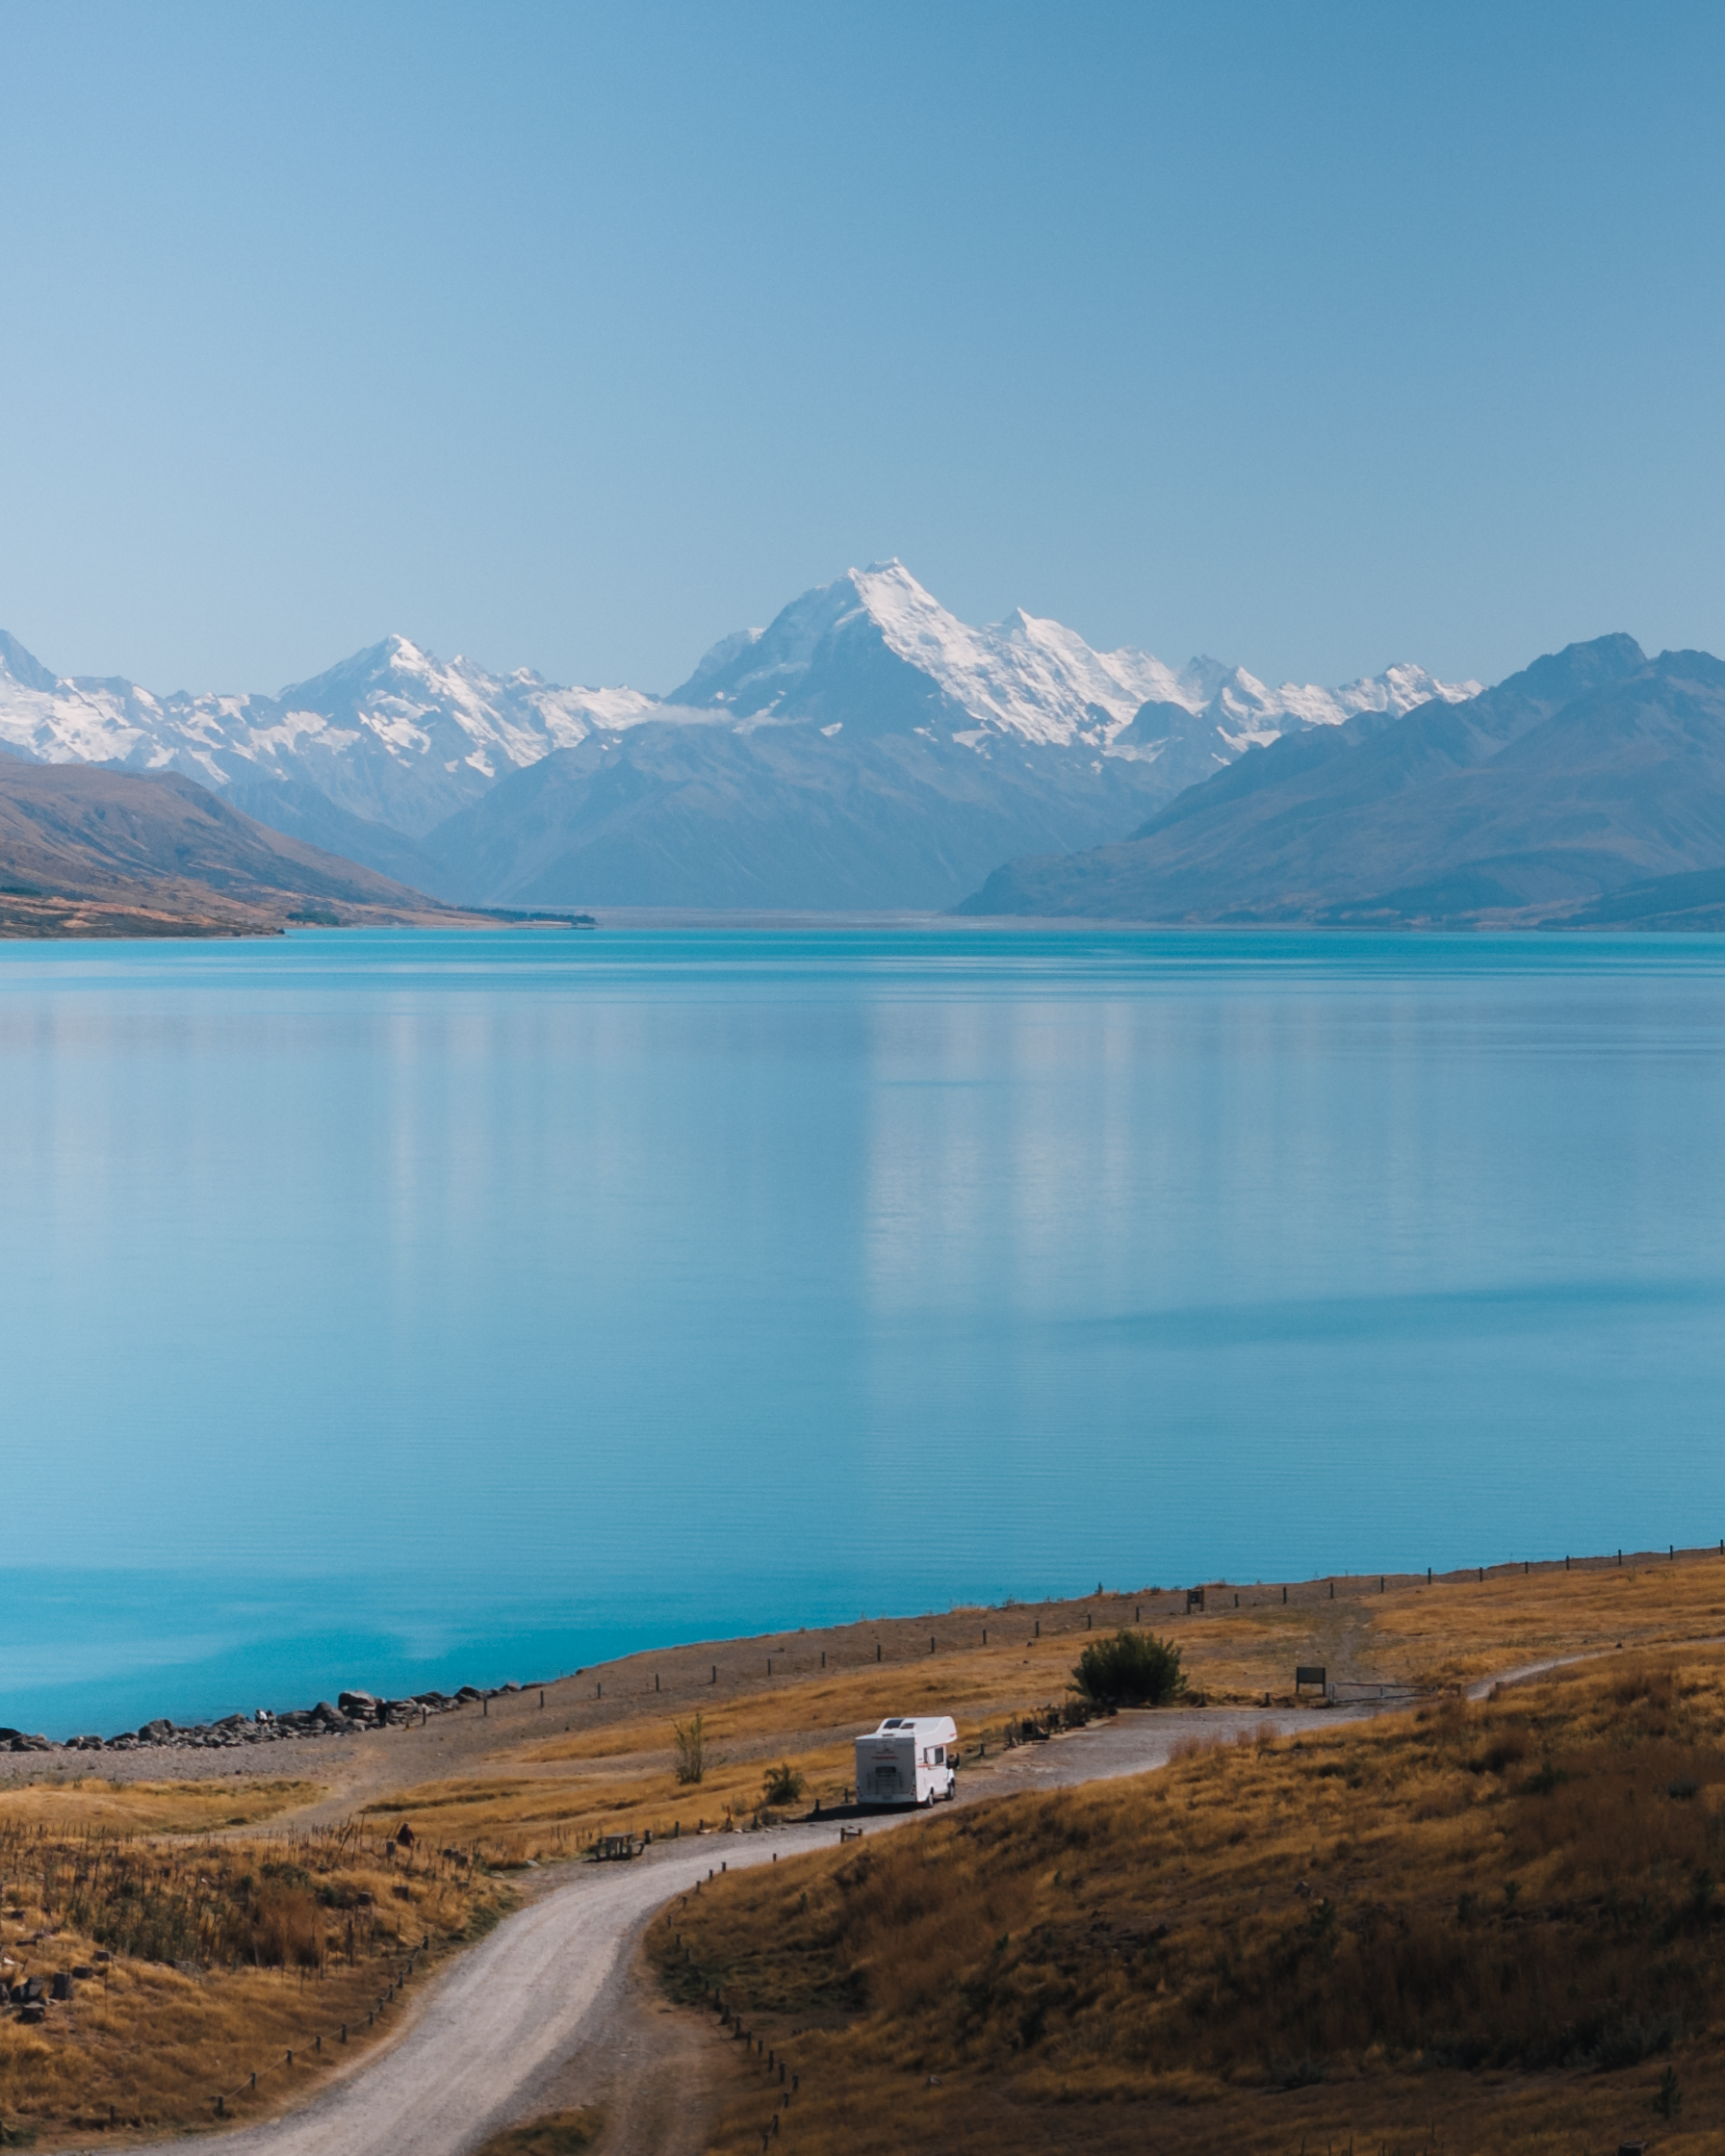
Campervan Park: Lake Pukaki Overnight Campervan Parking (non-powered freedom camp)
Hikes/activity: N/A
Stops: Pick up the van, get groceries, and have dinner. If there’s time, stop by Lake Tekapo on the way.
Day 2 | Lake Pukaki to Mount Cook
Route: Lake Pukaki to Mount Cook
Time Driving: ⏱️ 30 minutes 📏 41km
Campervan Park: Glentanner Park Centre #powered or White Horse Hill Campground #non-powered.
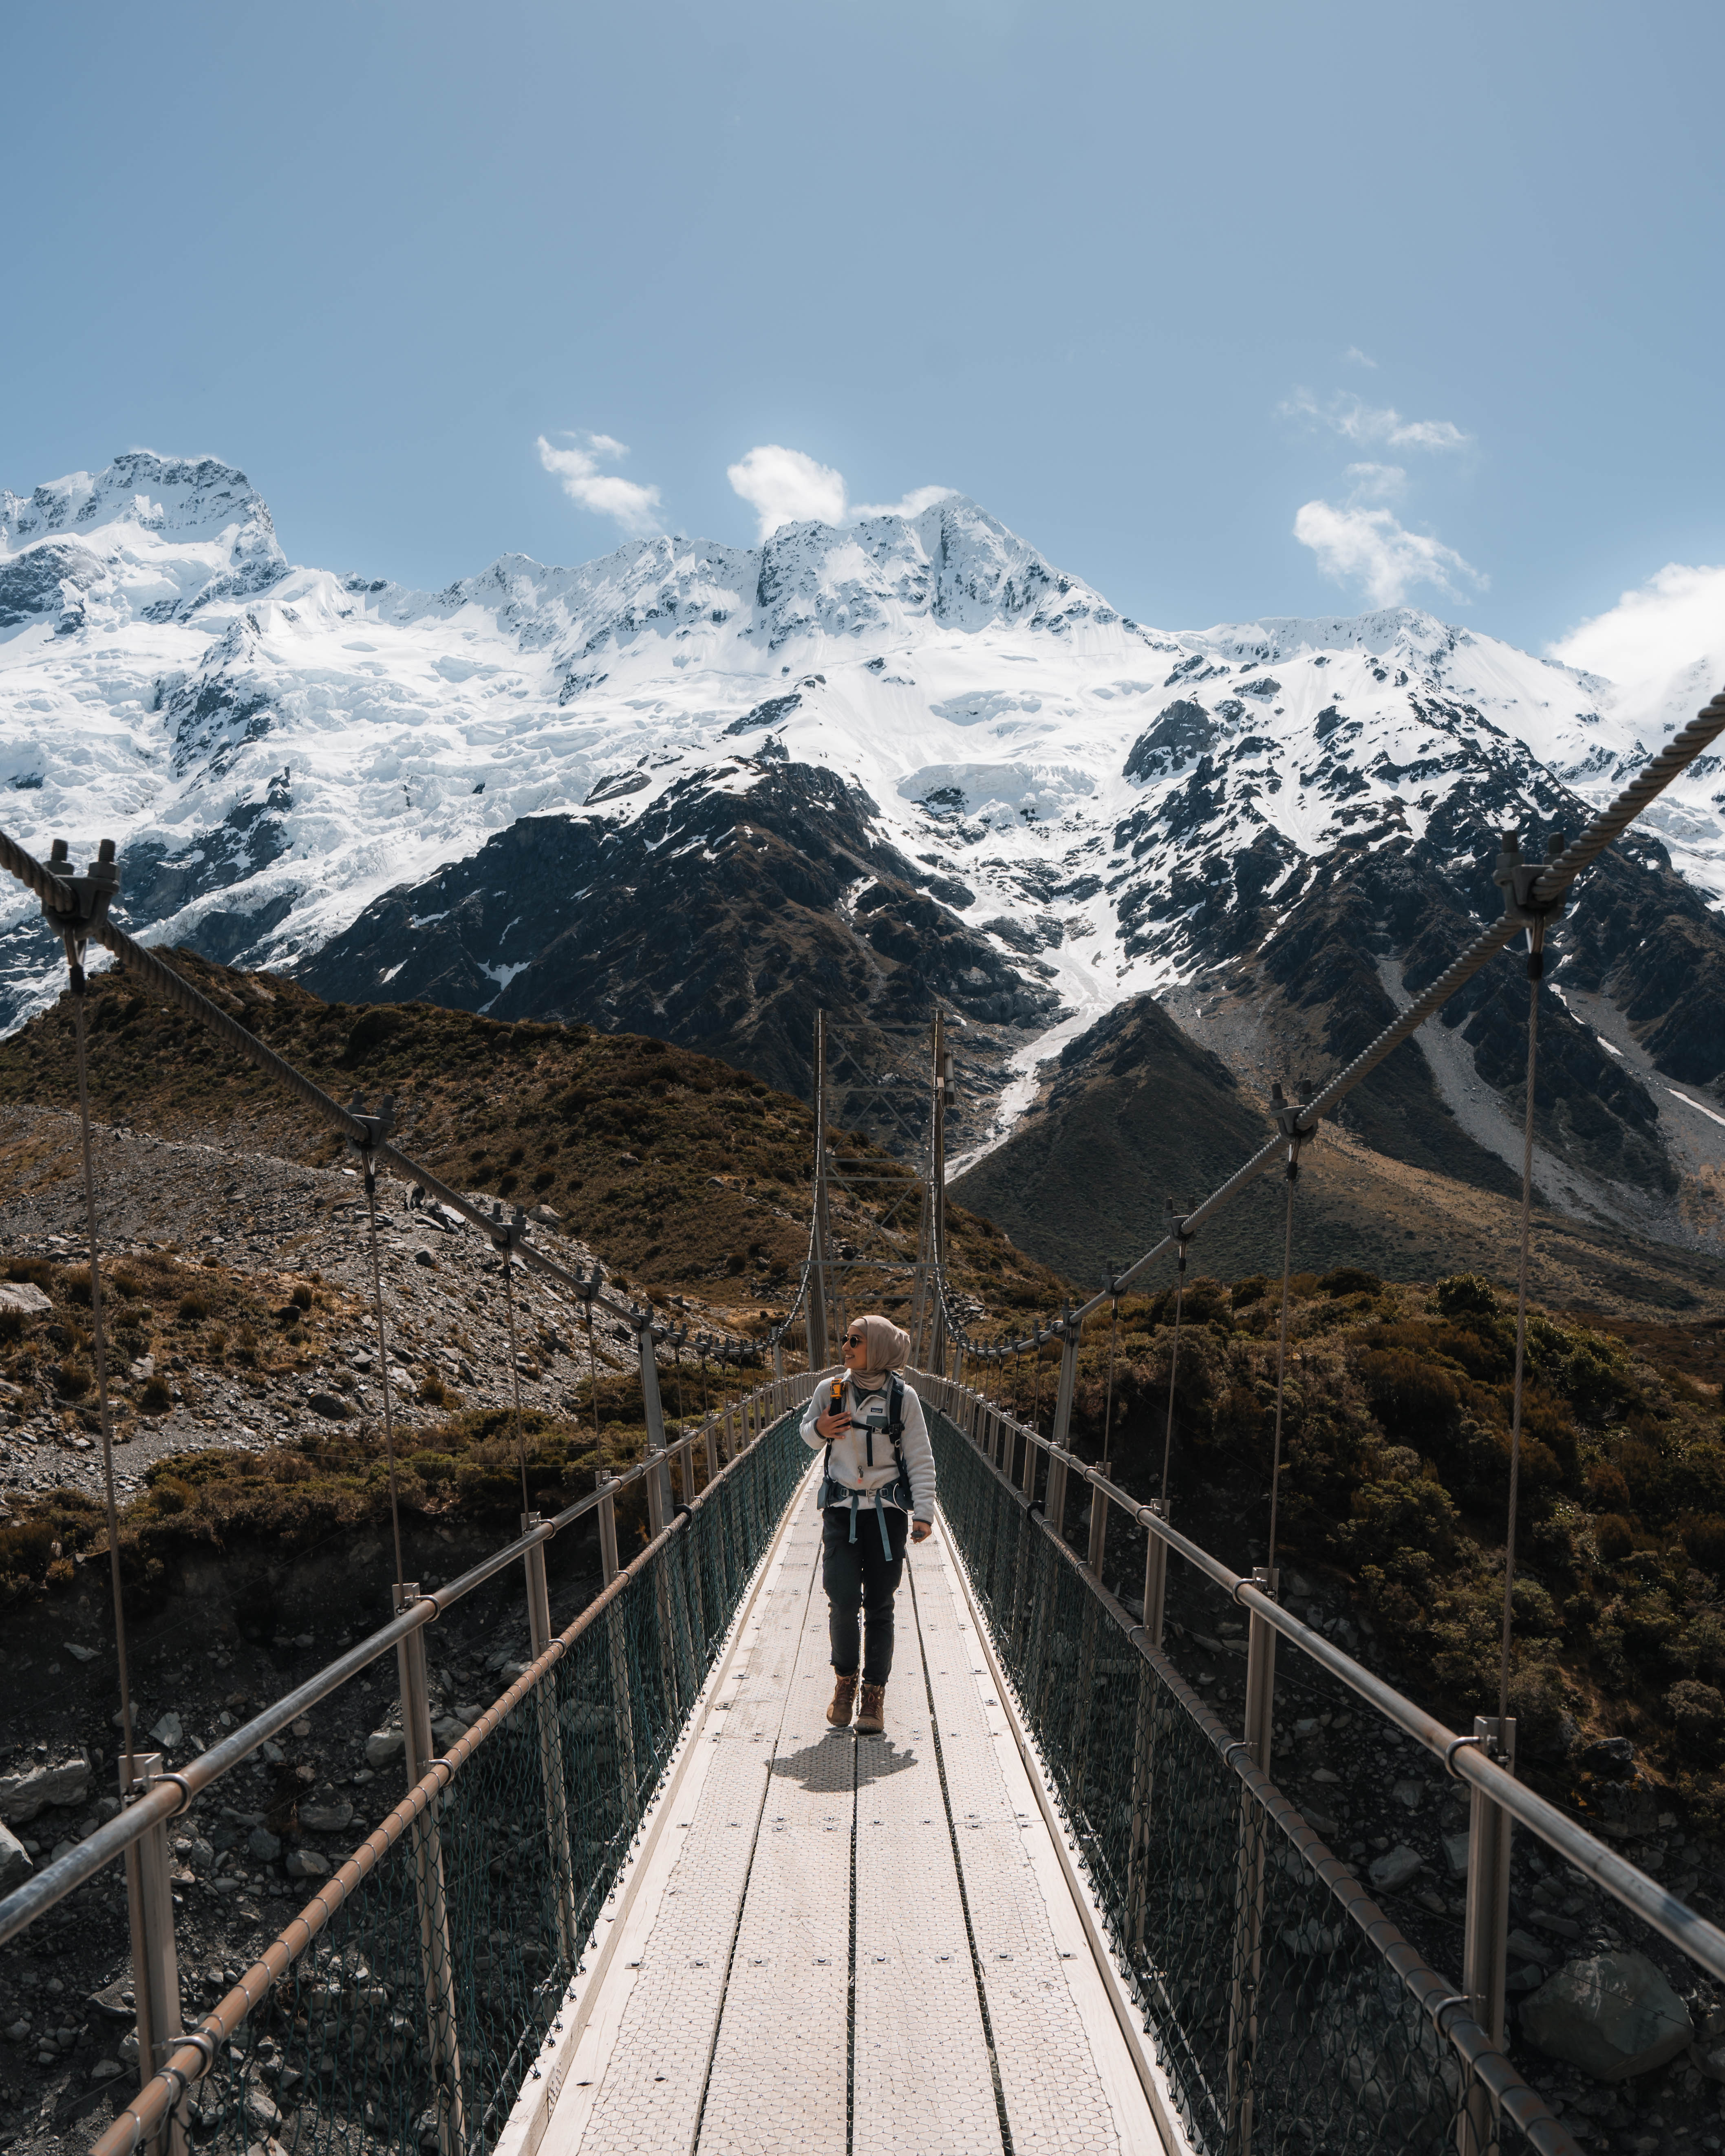
Hikes/activity: Hooker Valley Track (10 km return, about 3 hours) + Tasman Glacier View Track (1.3km, 20 minutes).
Stops: Peters Lookout, Lake Pukaki Lookout, Lavender Farm for some beautiful scenery and local products.
Note: The Hooker Valley Track is extremely popular (for good reason). I’d recommend going early in the morning or closer to sunset to avoid the crowds. Also, make sure to check the DOC website before your trip, as the track is closed for most of 2025 due to bridge upgrades. The Mount Cook Tasman Glacier Heli Hike also looks incredible. Definitely one for next time.
Hikes I Didn’t Do This Trip (But Loved on Previous Visits).
If you’ve got extra time in Mount Cook and want more of a challenge:
Sealy Tarns Track – 2,200 stairs and epic views. About 2.5 hrs return.
Mueller Hut Route – Continues past Sealy Tarns. Steep, exposed, and one of my favourite hikes in NZ. Takes around 5–6 hrs return or can be done as an overnight.
Just make sure to check the weather and go prepared.
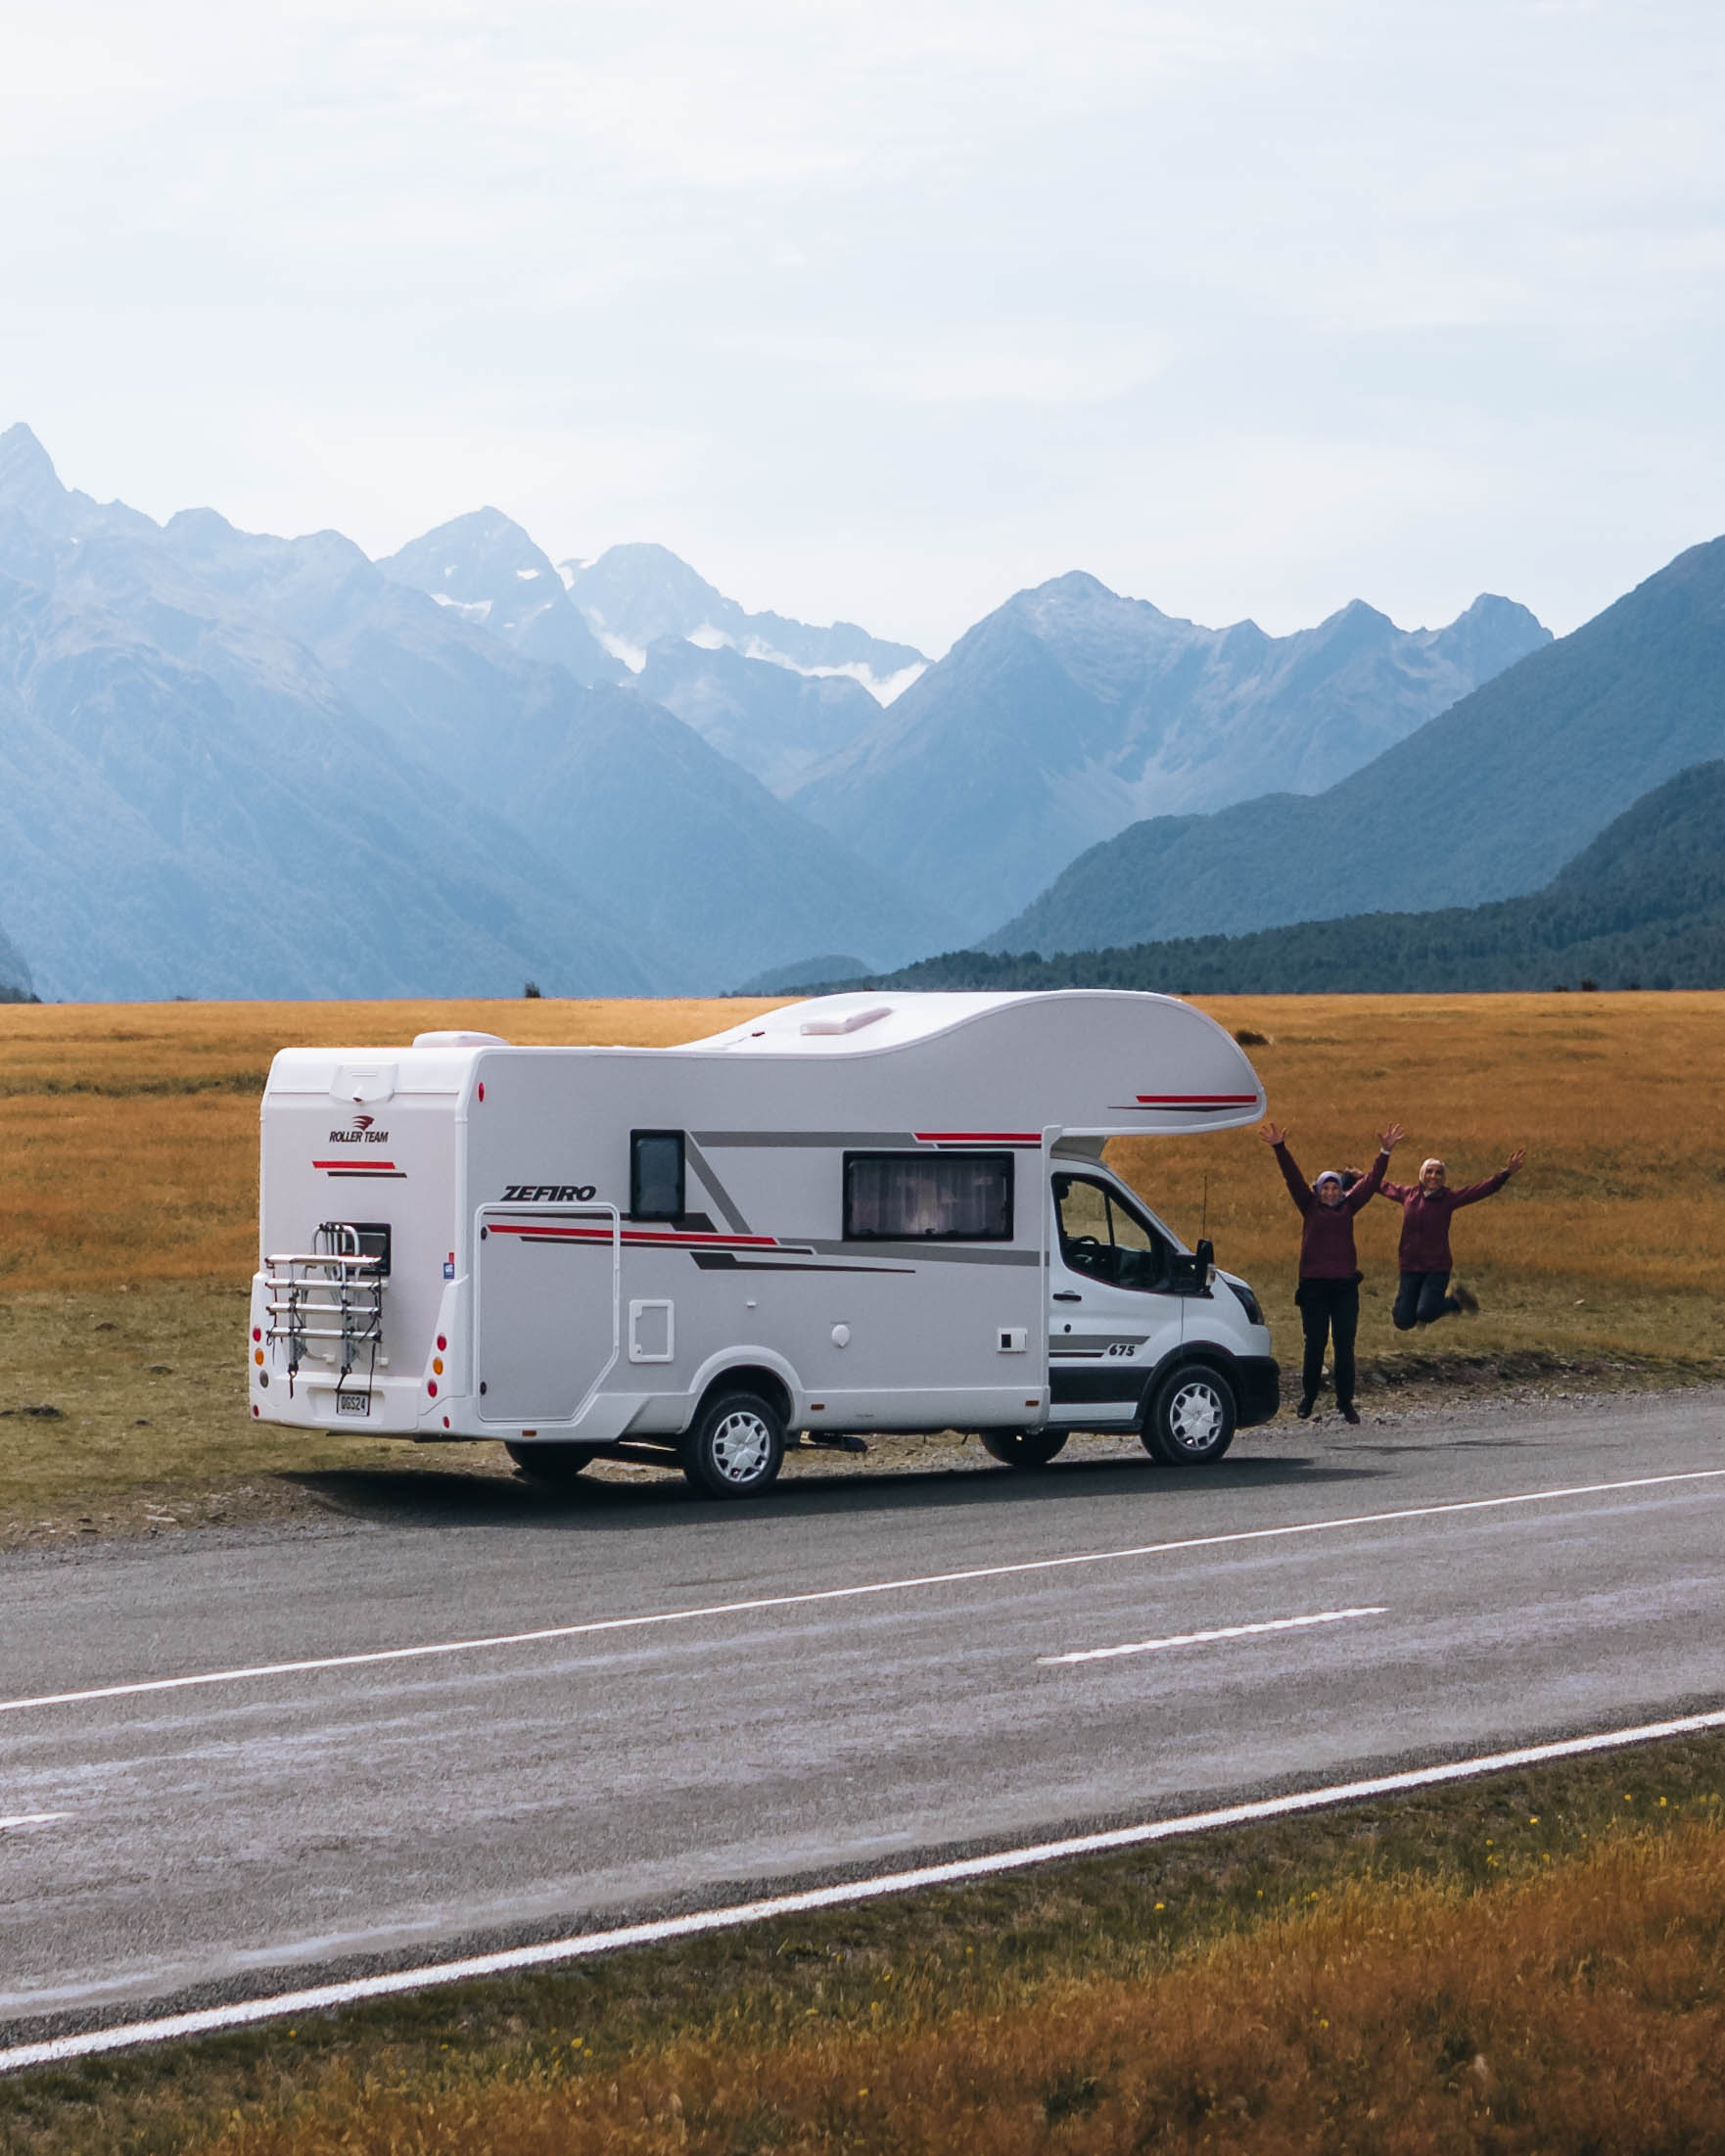
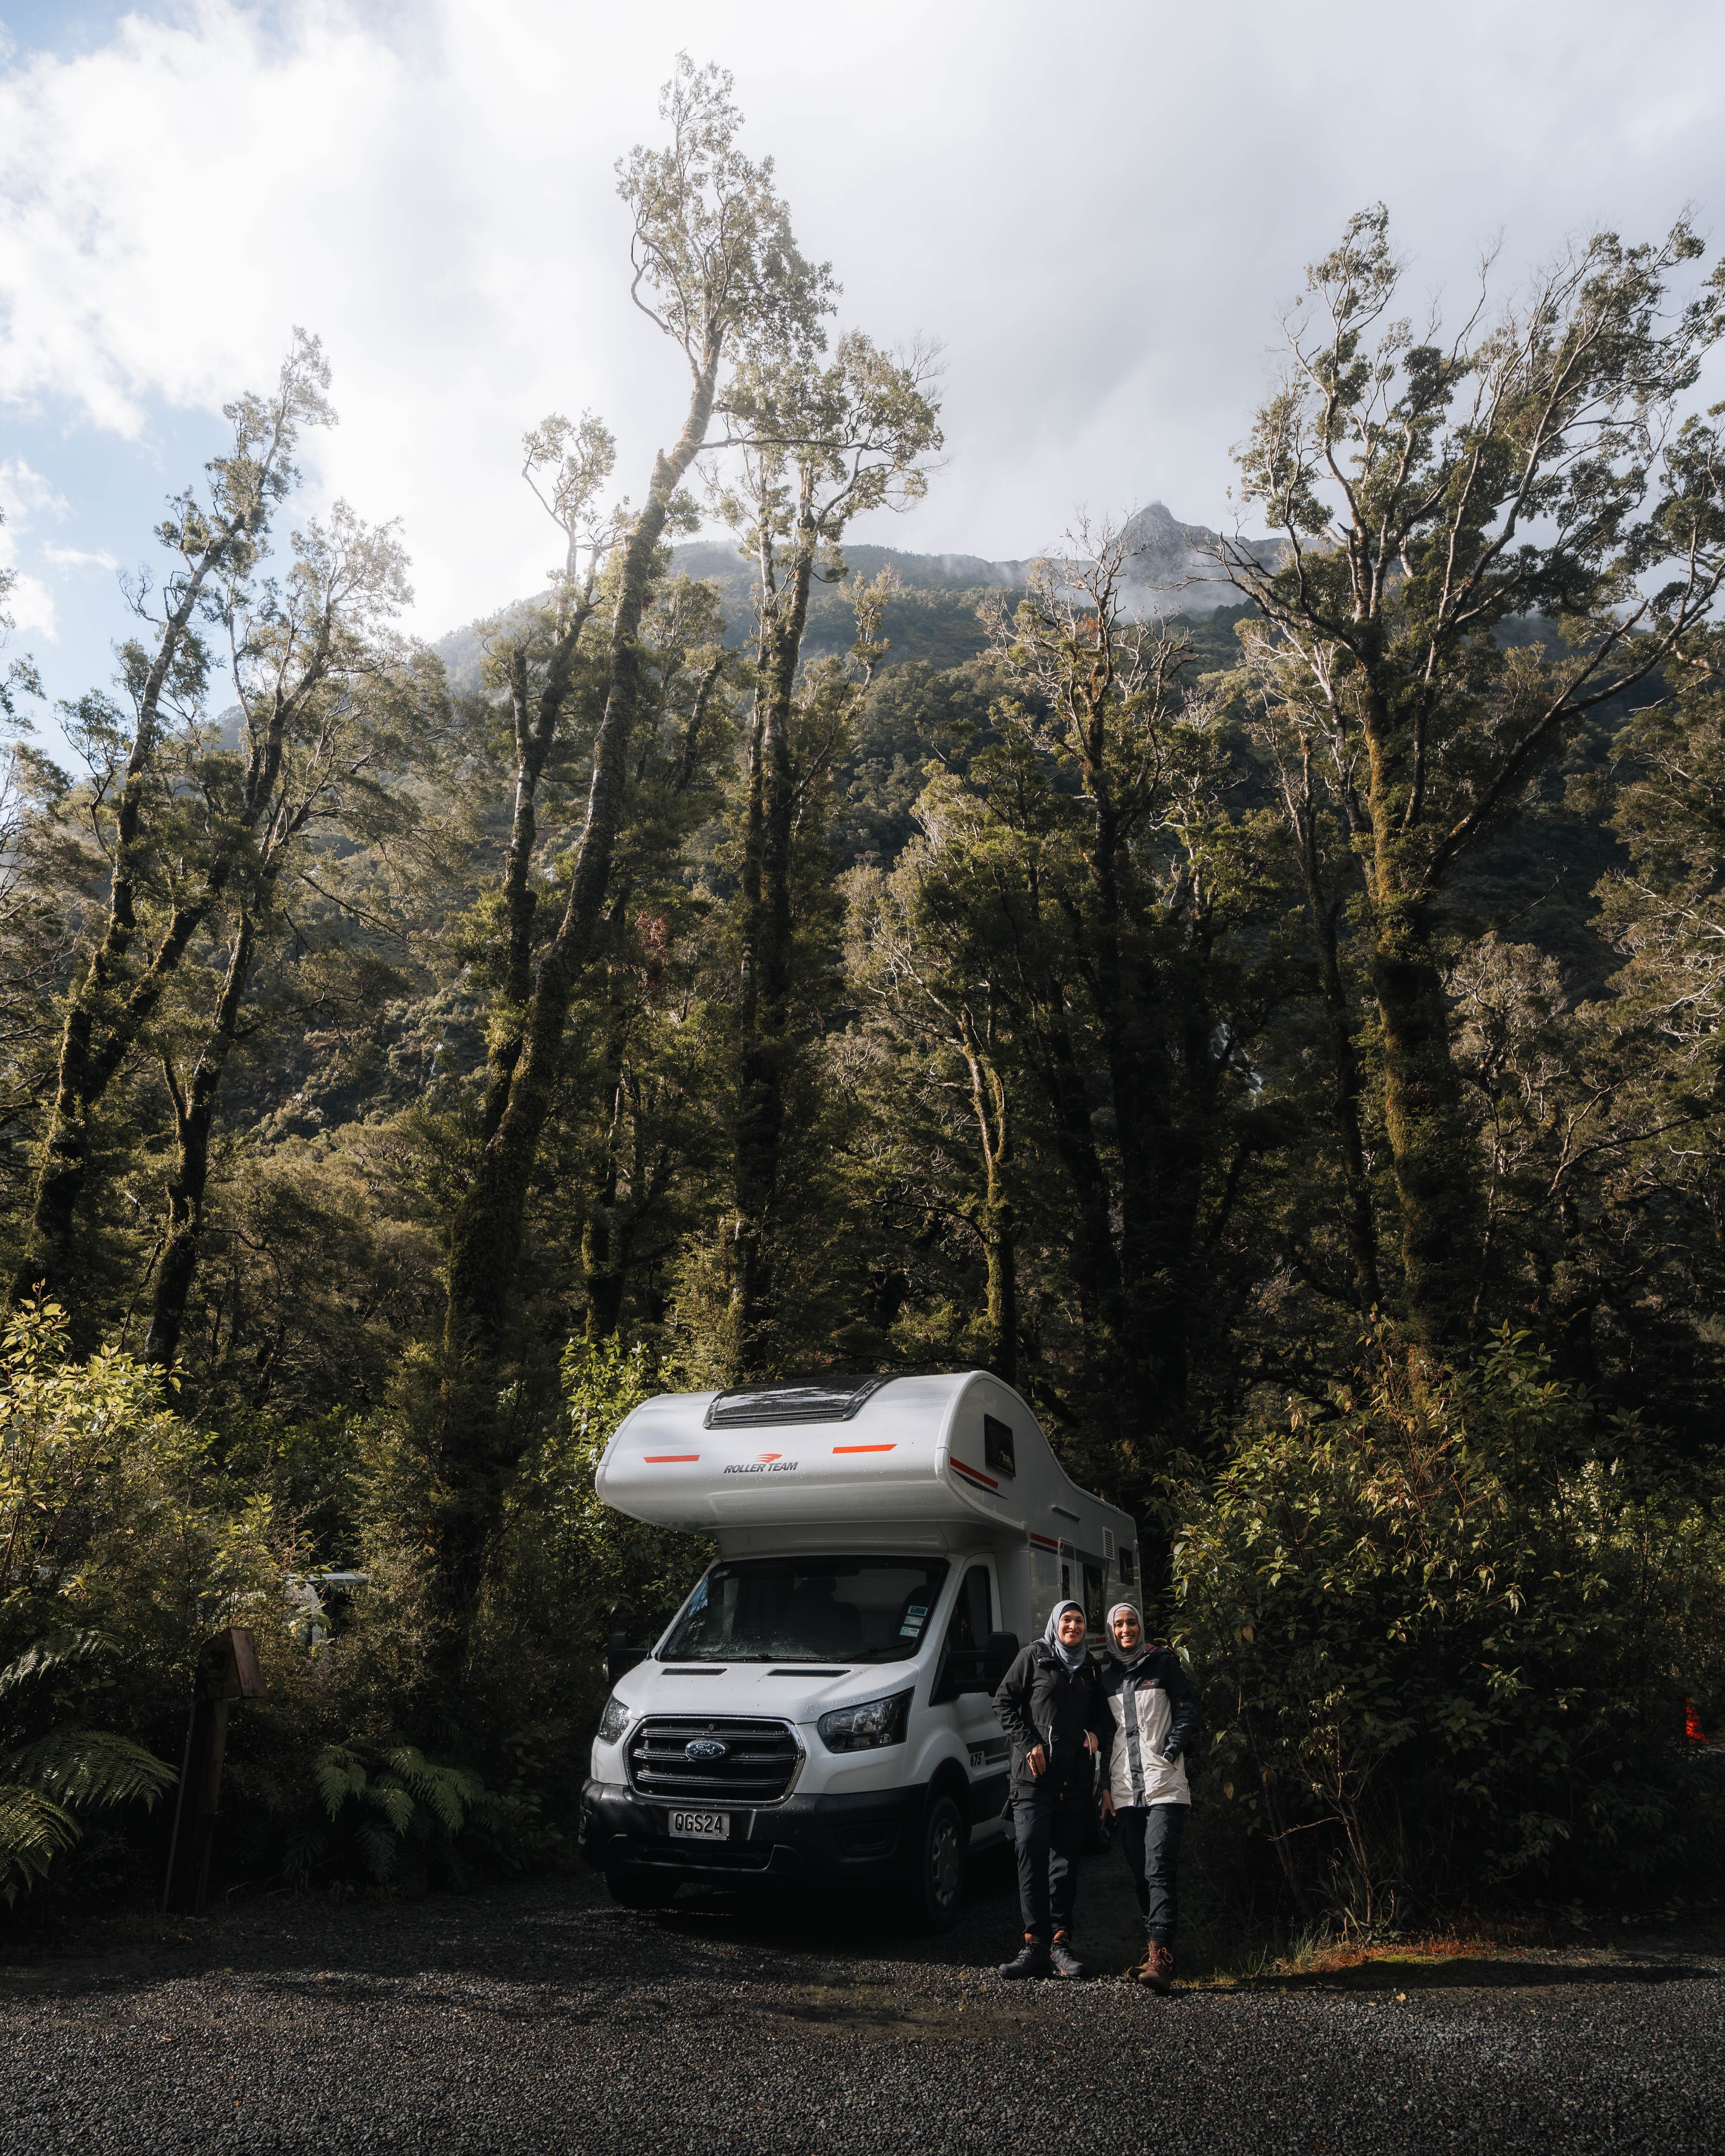
Day 3 | Mount Cook to Wanaka
Route: Mount Cook to Haast Pass to Wanaka
Time Driving: ⏱️ 5 hours and 20 minutes 📏 206 km (if you continue up to Haast Pass)
Campervan Park: The Camp Lake Hawea #powered & #non-powered available
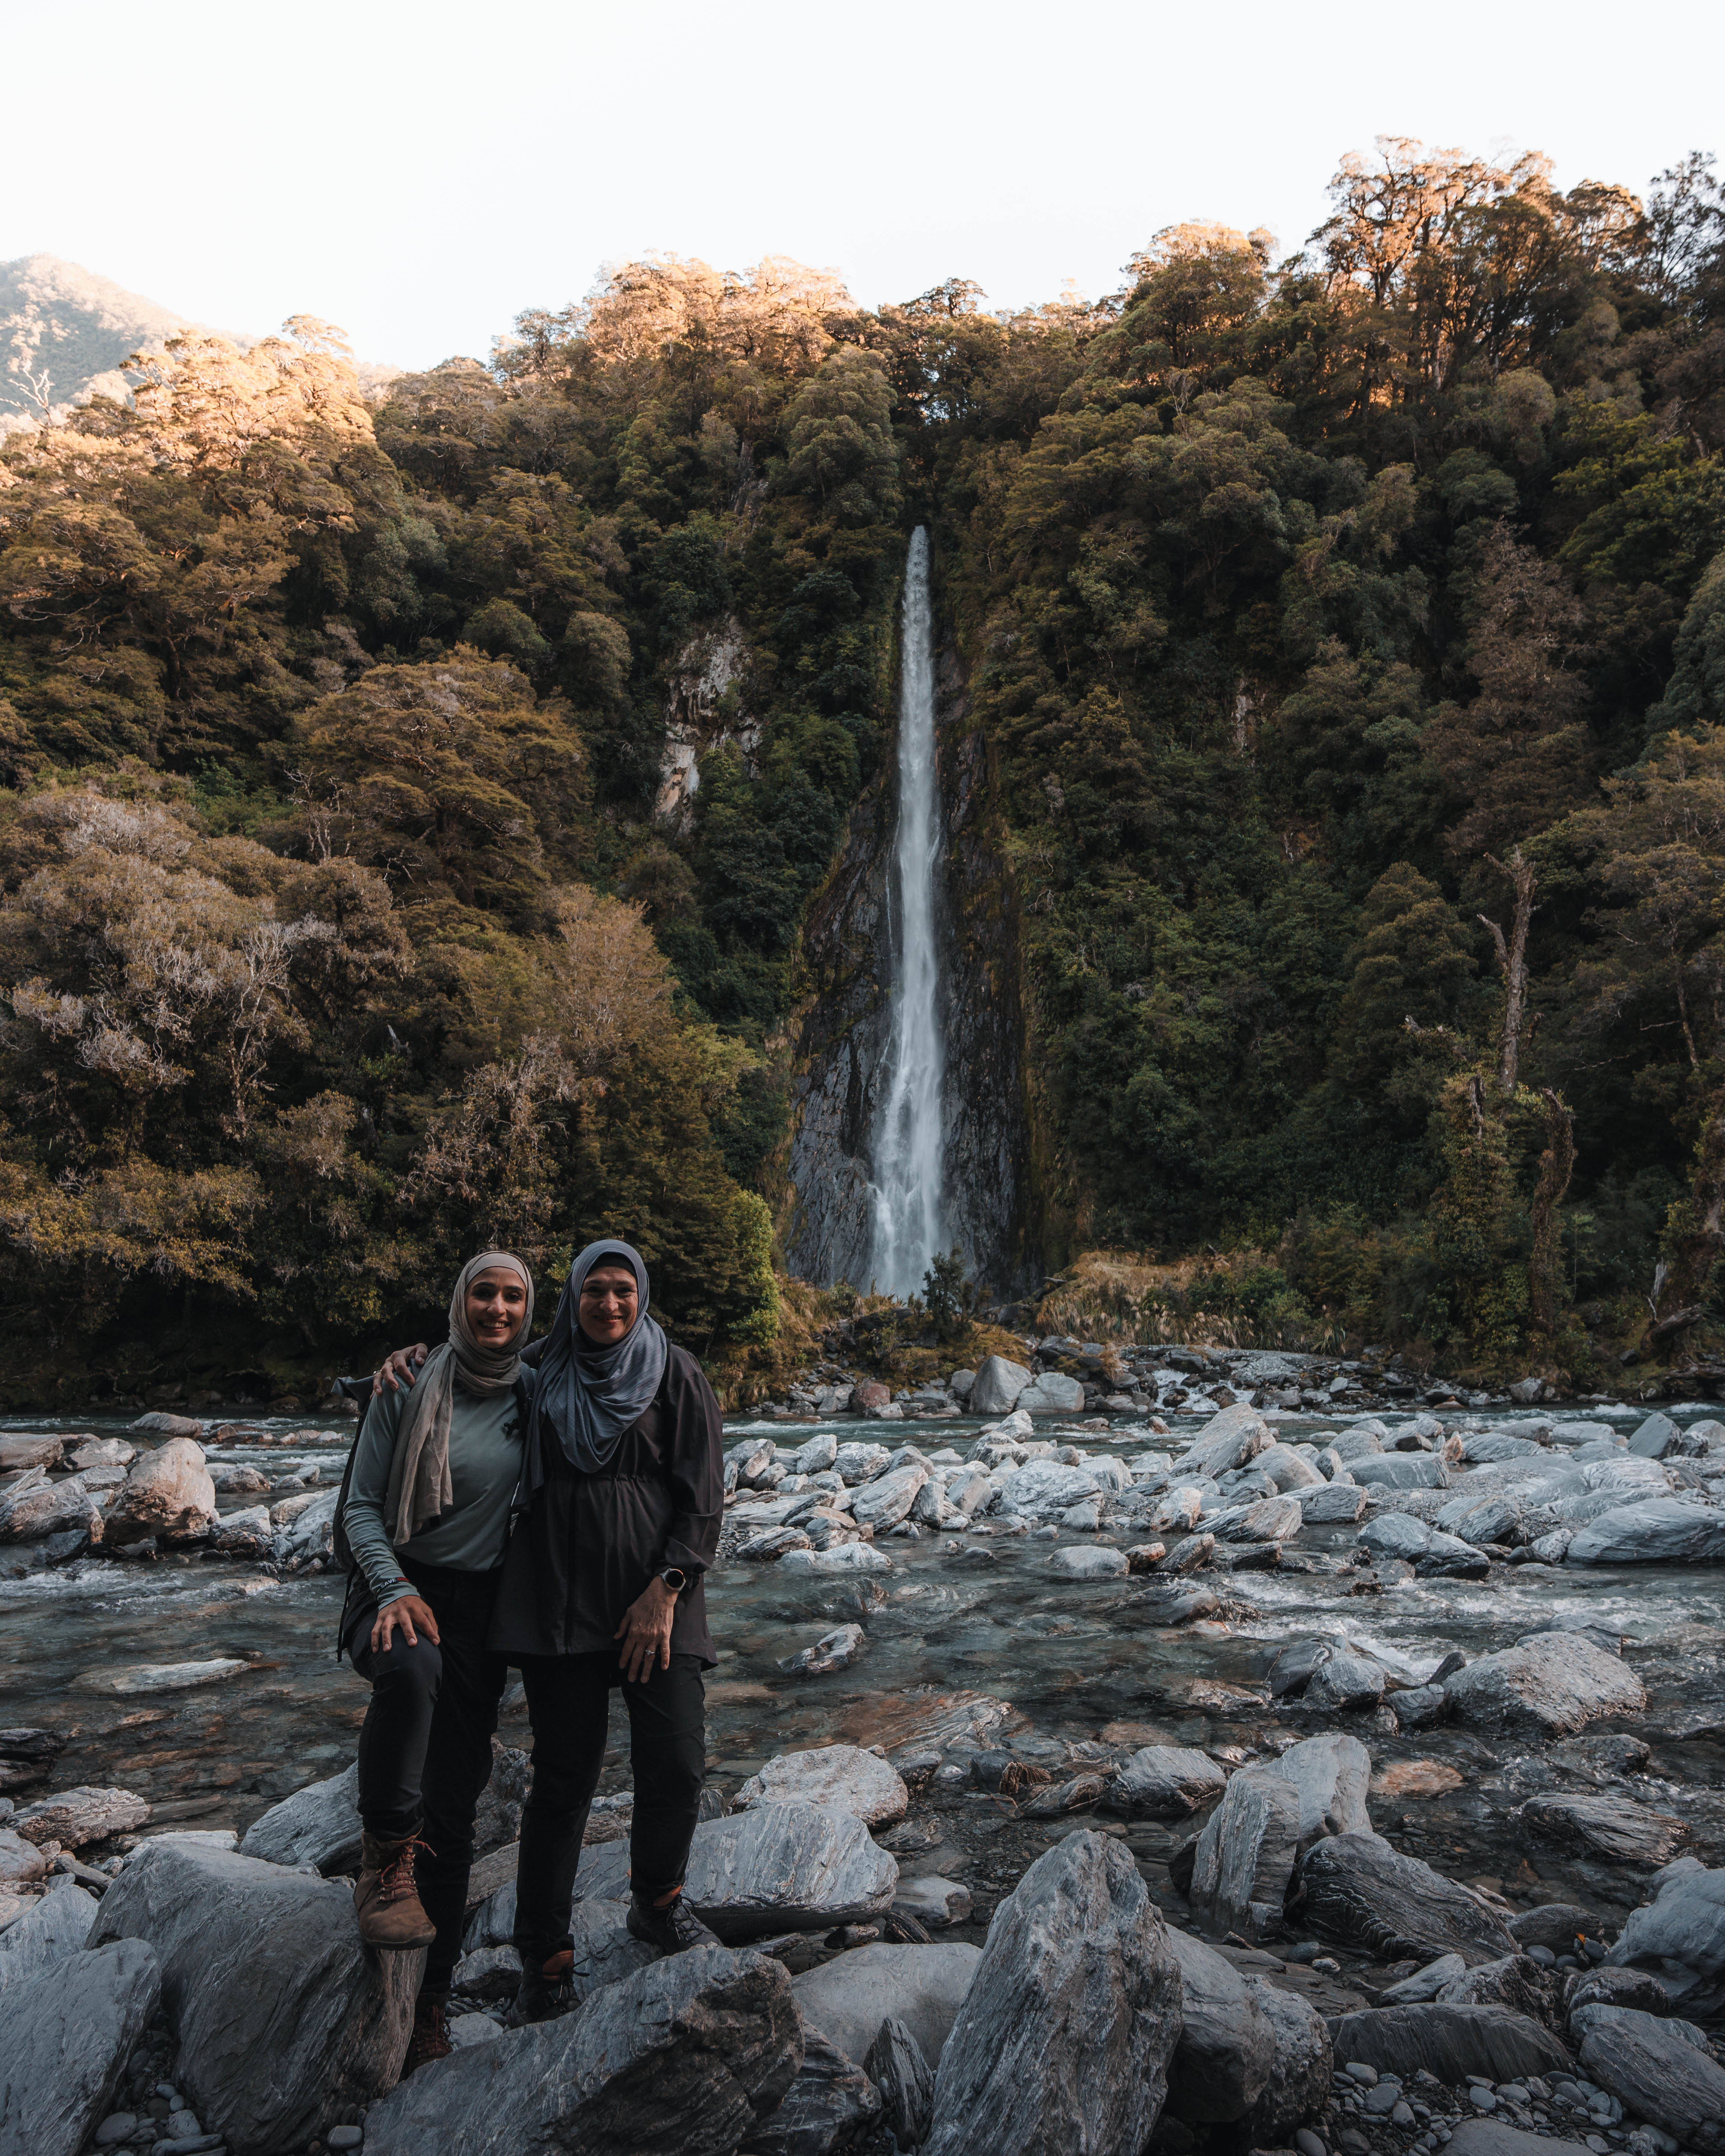
Hikes/activity:****Blue Pools - 1 hour returnFantail Falls - 20 minutesThunder Creek Falls - 5 minutesRoaring Billy Falls Walk - 25 minutes
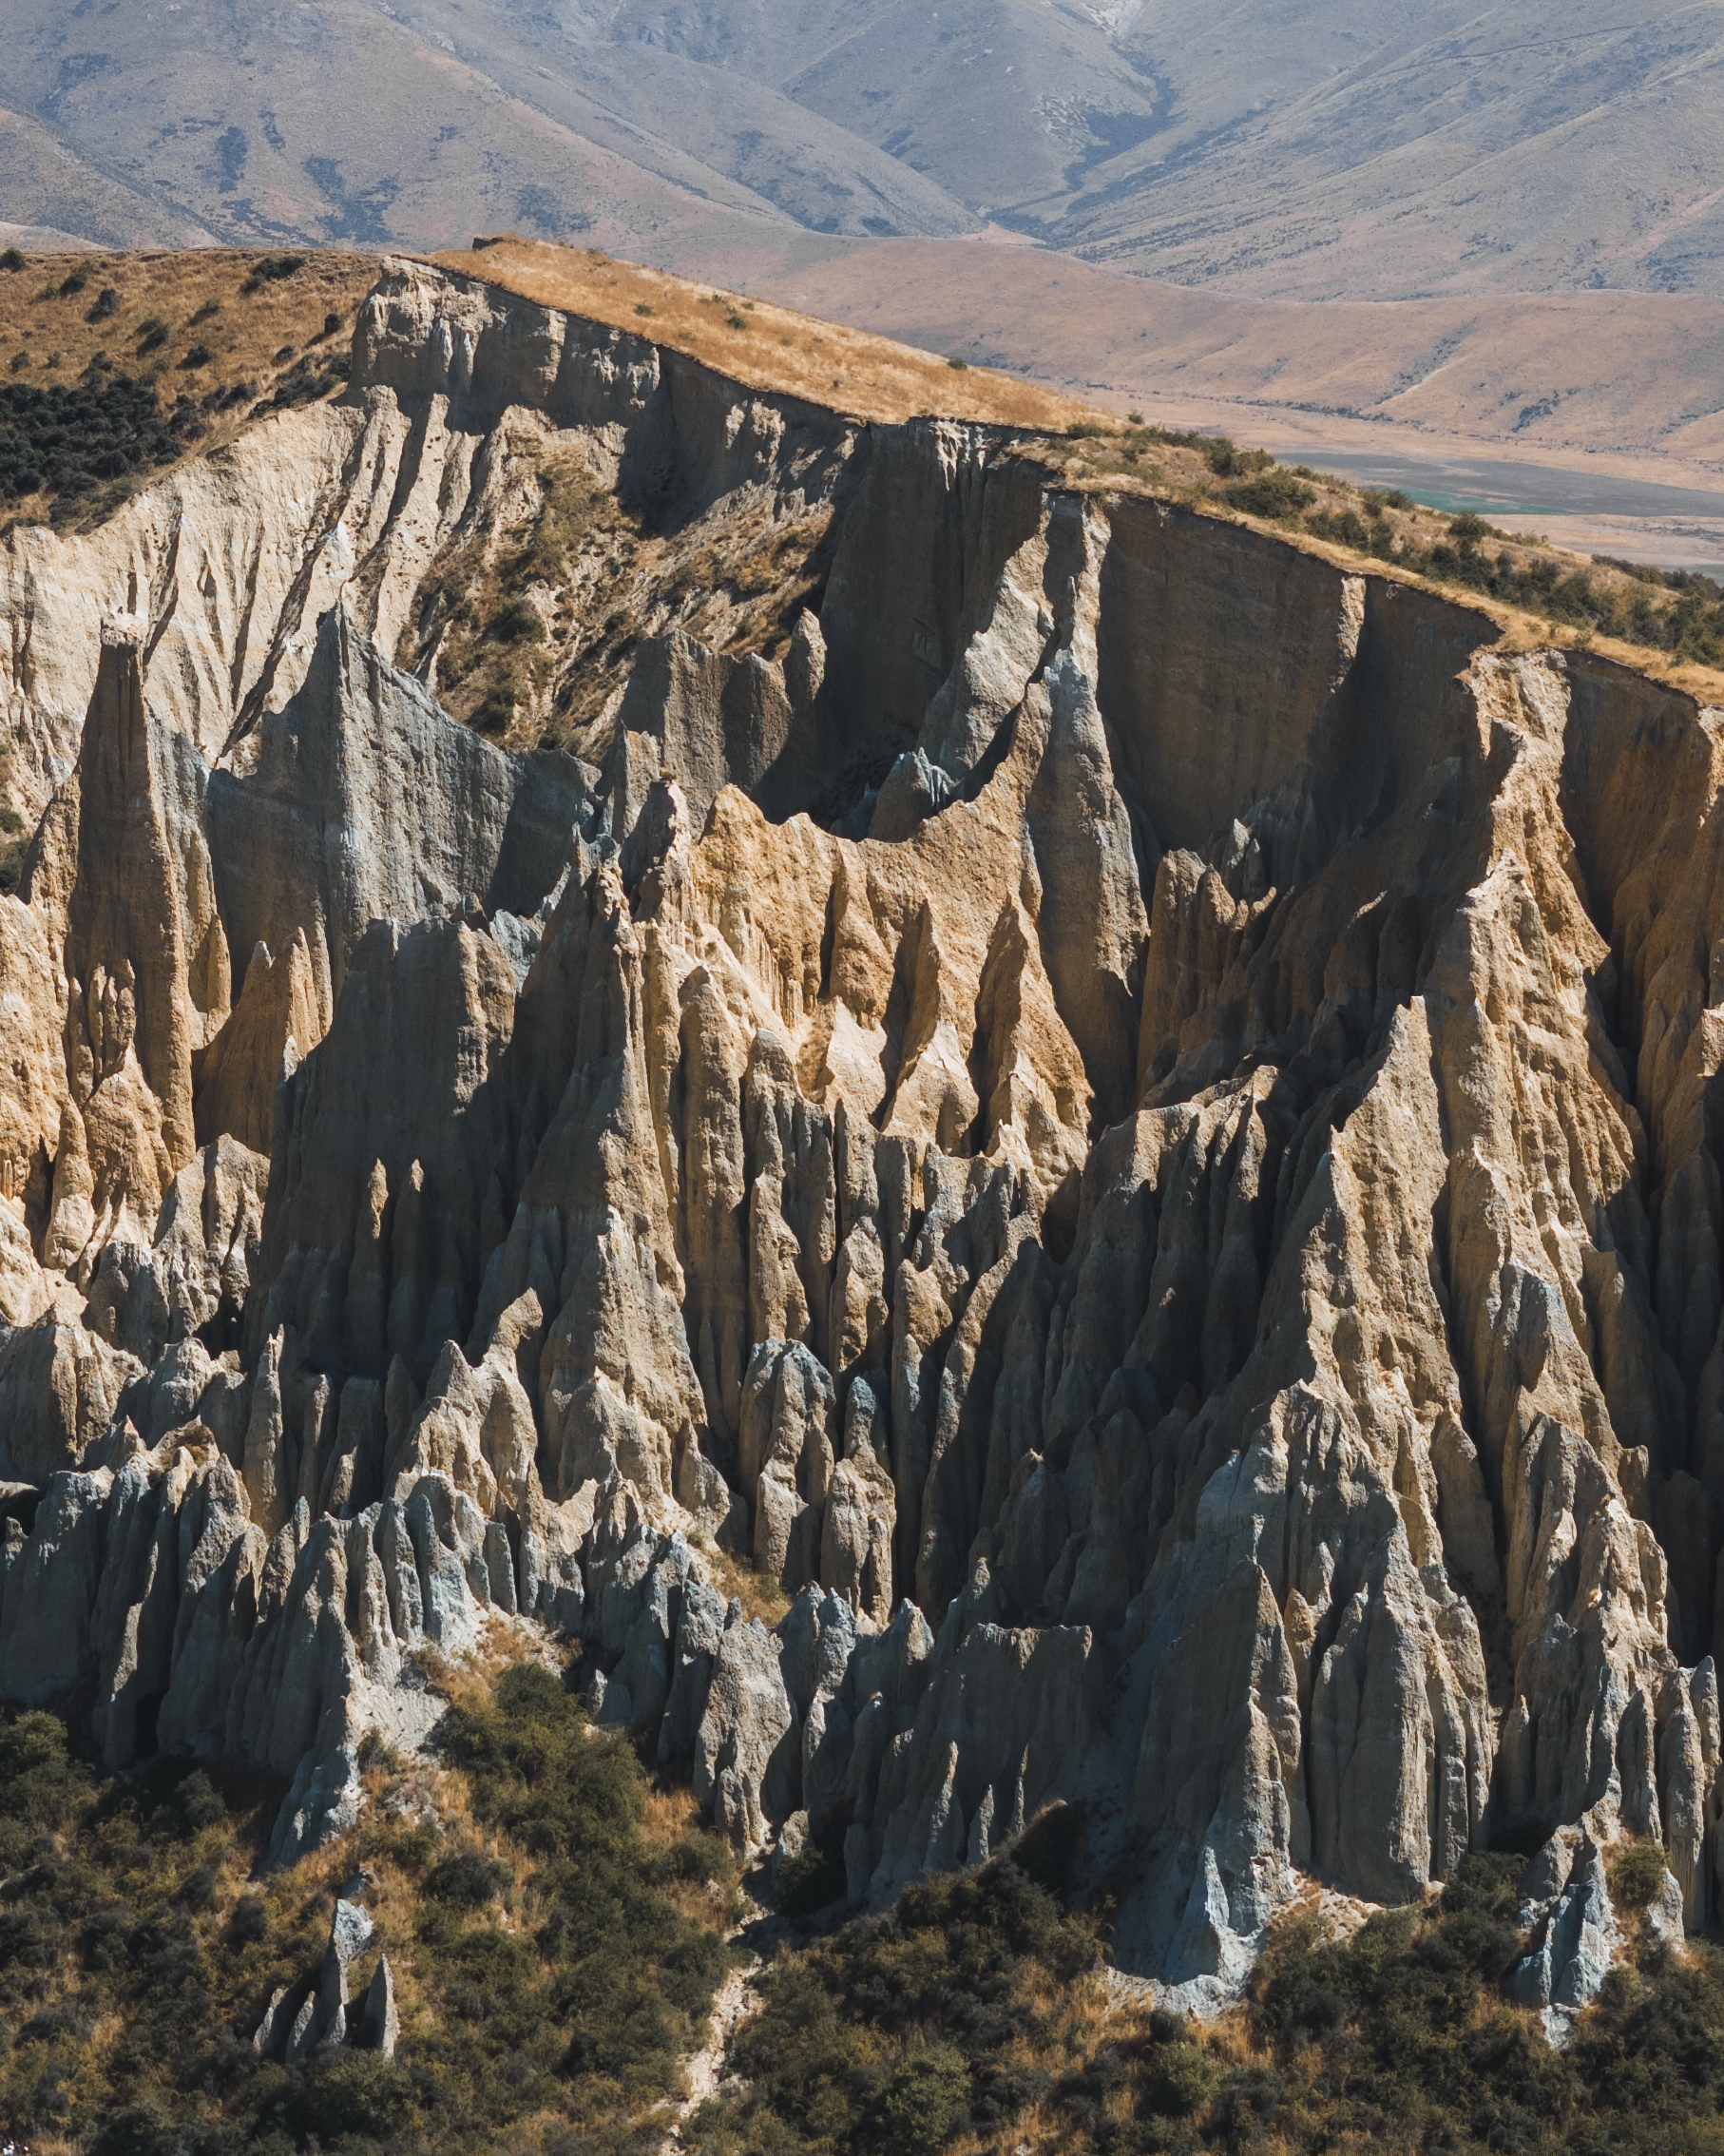
Stops: Clay Cliffs (bumpy gravel path to get to the actual track, so we decided to see it from the highway - would love to visit next trip), Lake Hawea and Lake Wanaka Lookouts
Back up: Explore Wanaka, visit Wanaka lake & #ThatWanakaTree, and local shops instead if the drive to Haast Pass is skipped
Day 4 | Wanaka to Kingston Lake Camp
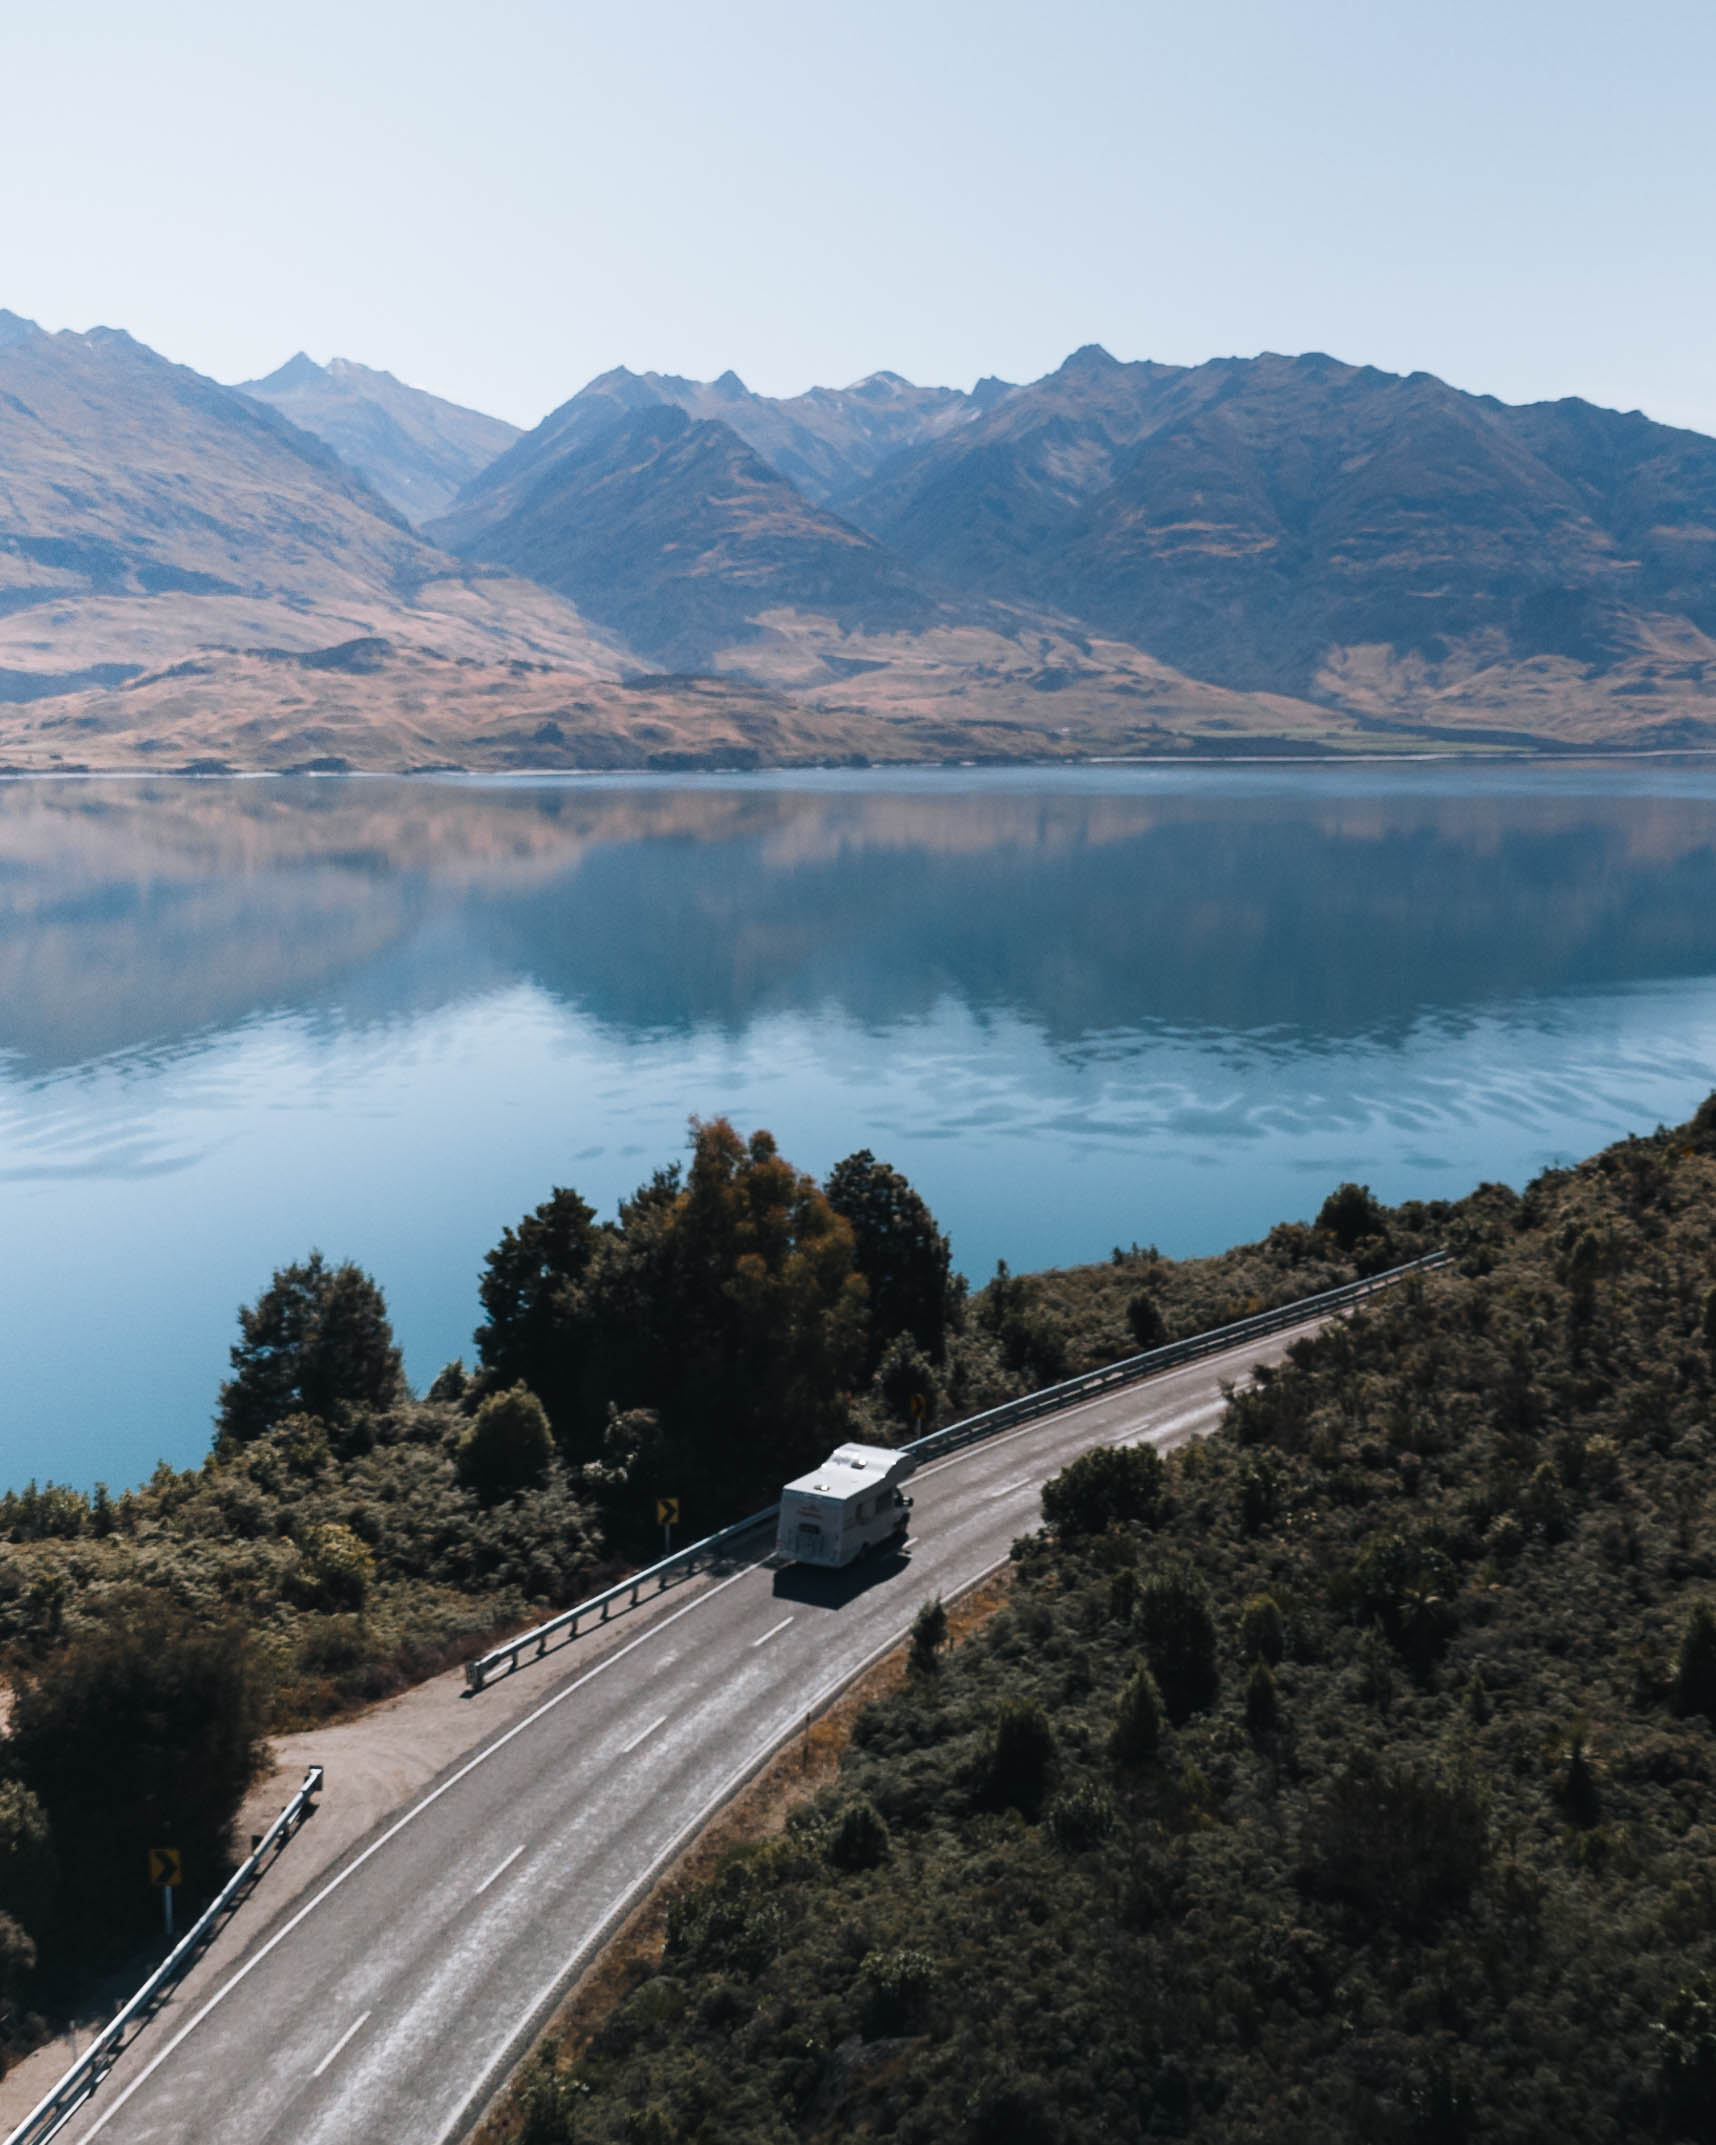
Route: Wanaka to Kingston Lake Camp
Time Driving: ⏱️ 1 hour and 45 minutes 📏 110km
Campervan Park: Kingston Lake Camp #non-powered freedom camp or in Queenstown. We stayed at Kingston to be closer to Milford Sound the following day.
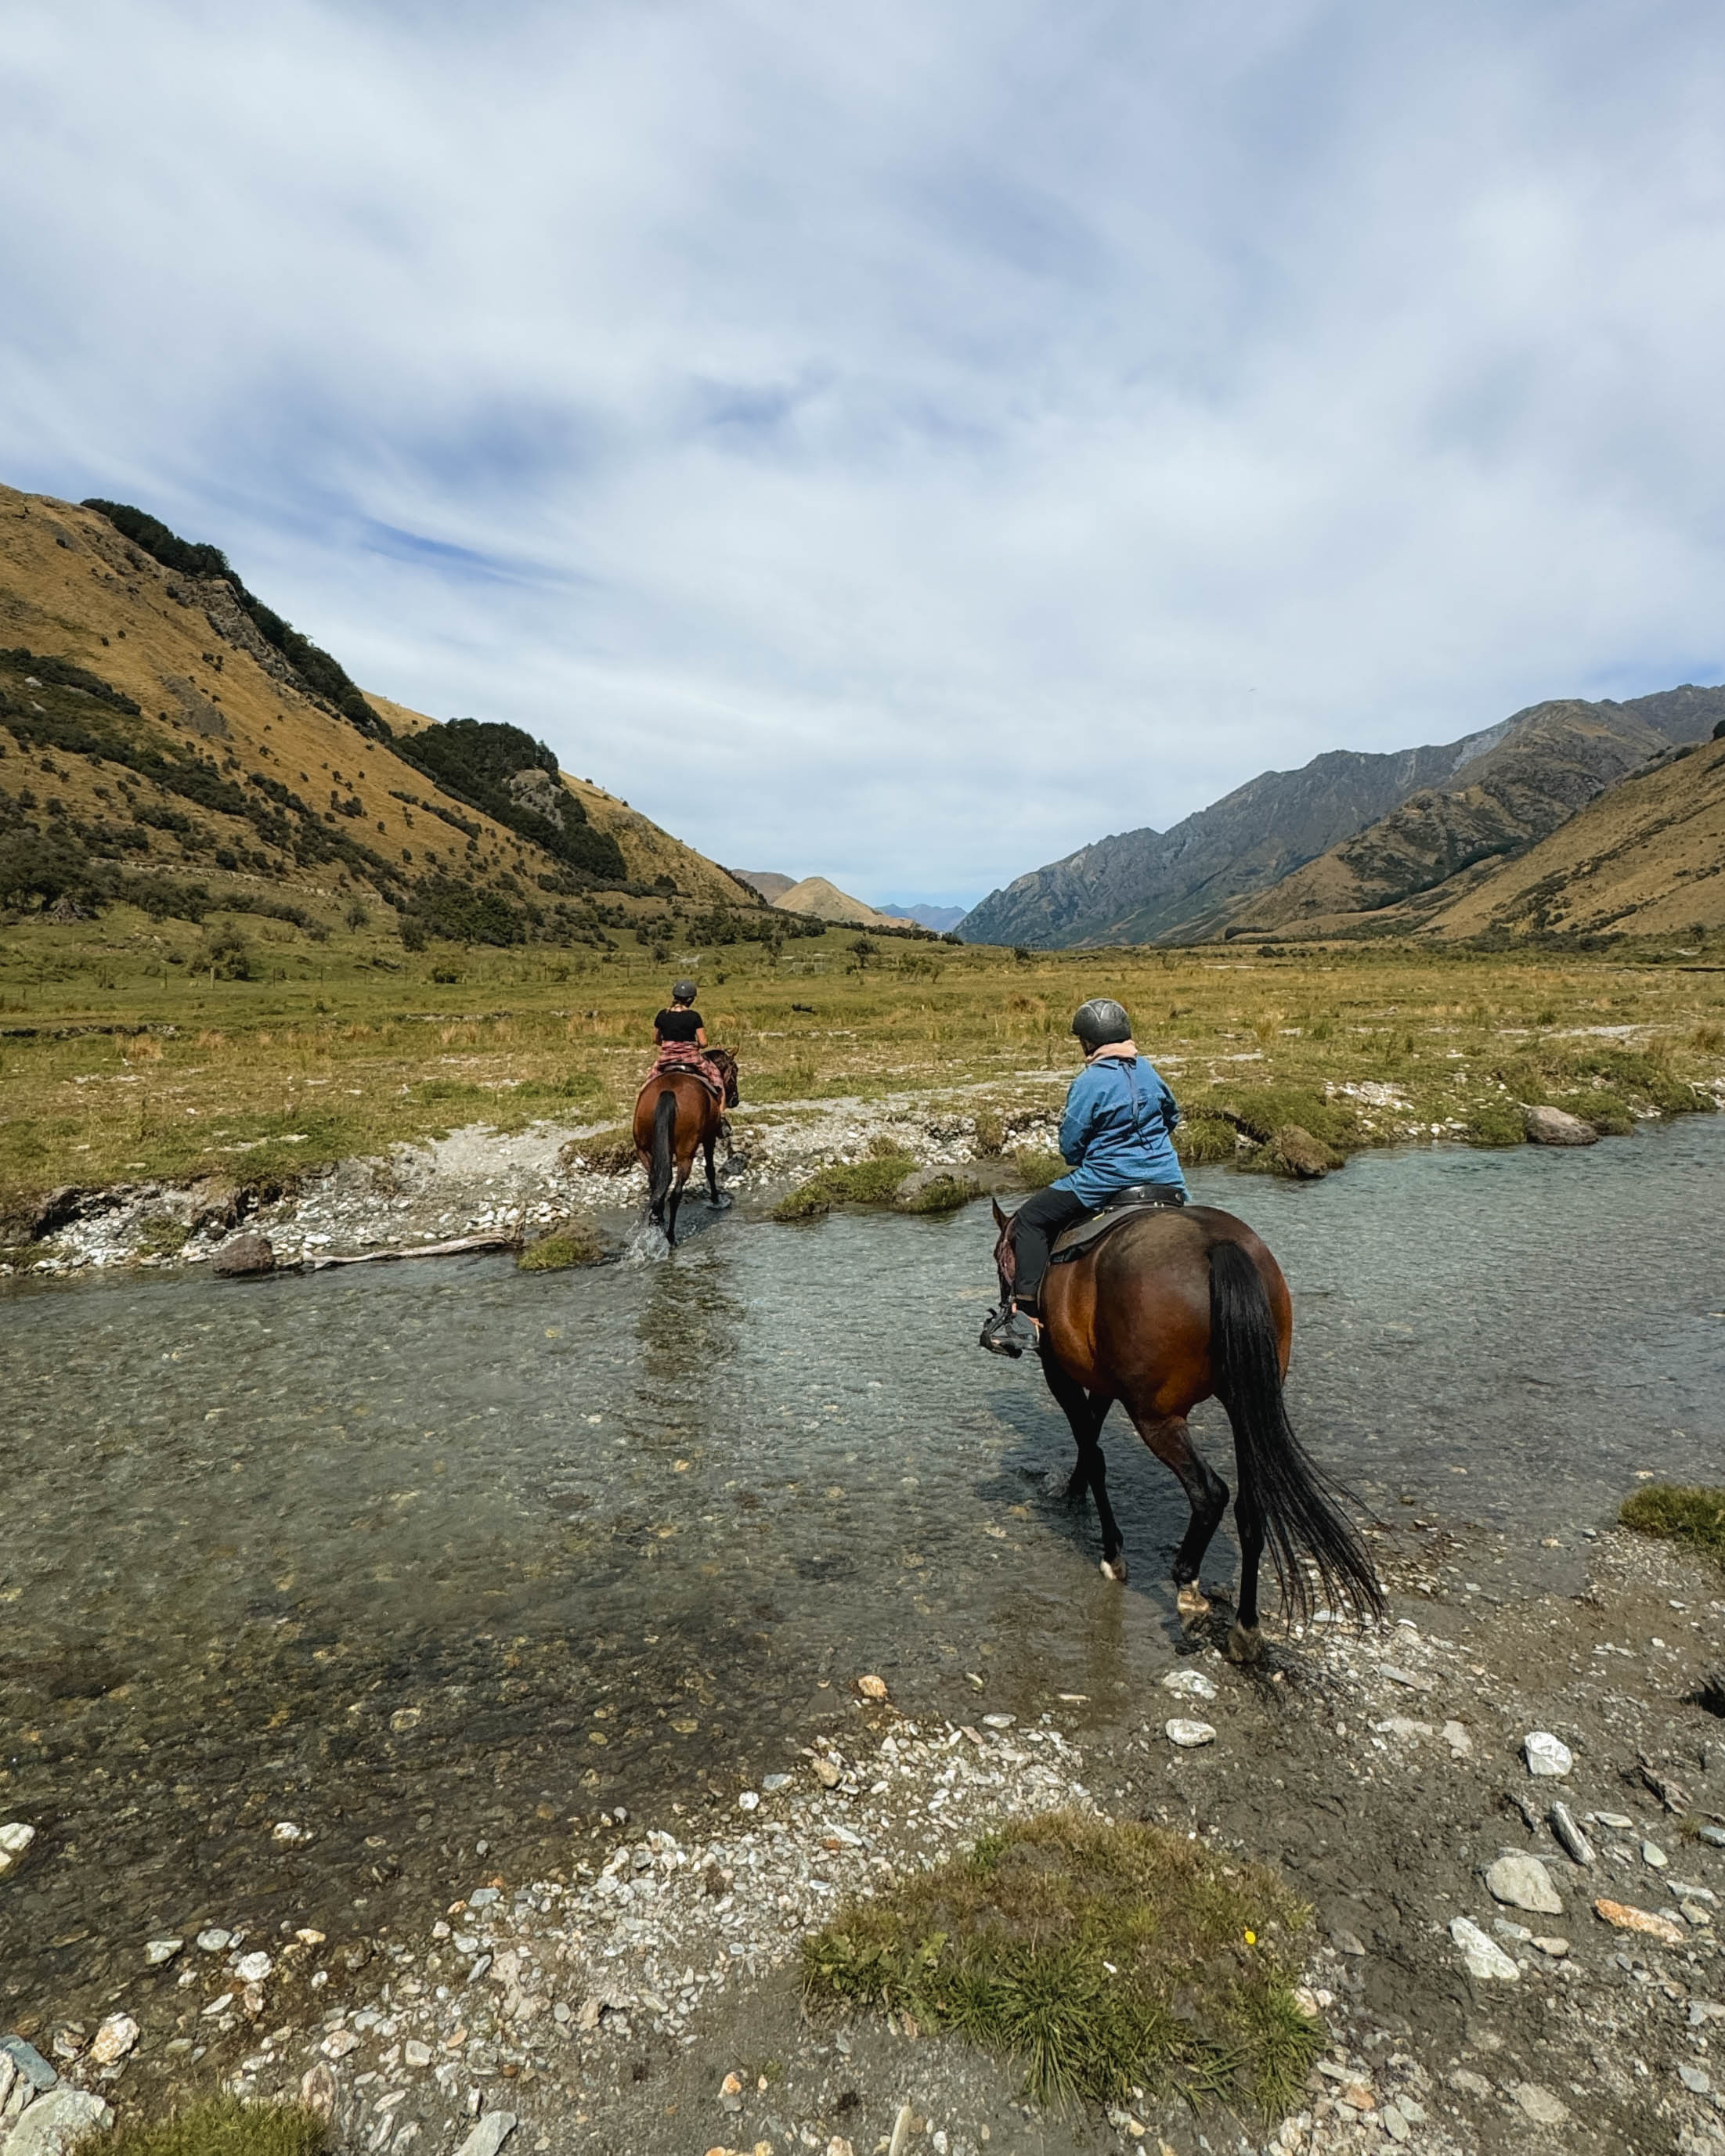
Hikes/activity: Horse Riding in Wanaka or Roys Peak Hike or Ben Lomond Hike—both offering spectacular views of the region.
Stops: Queenstown for burgers & lookouts along route.
Day 5 | Kingston Lake Camp to Milford Sound
Route: Kingston Lake Camp to Milford Sound
Time Driving: ⏱️ 3 hours and 8 minutes 📏 247 km
Campervan Park: Milford Sound Lodge - book this well in advanced especially in peak season. Not the cheapest campsite option but so worth it! Otherwise you’ll need to camp along the route to Milford Sound.
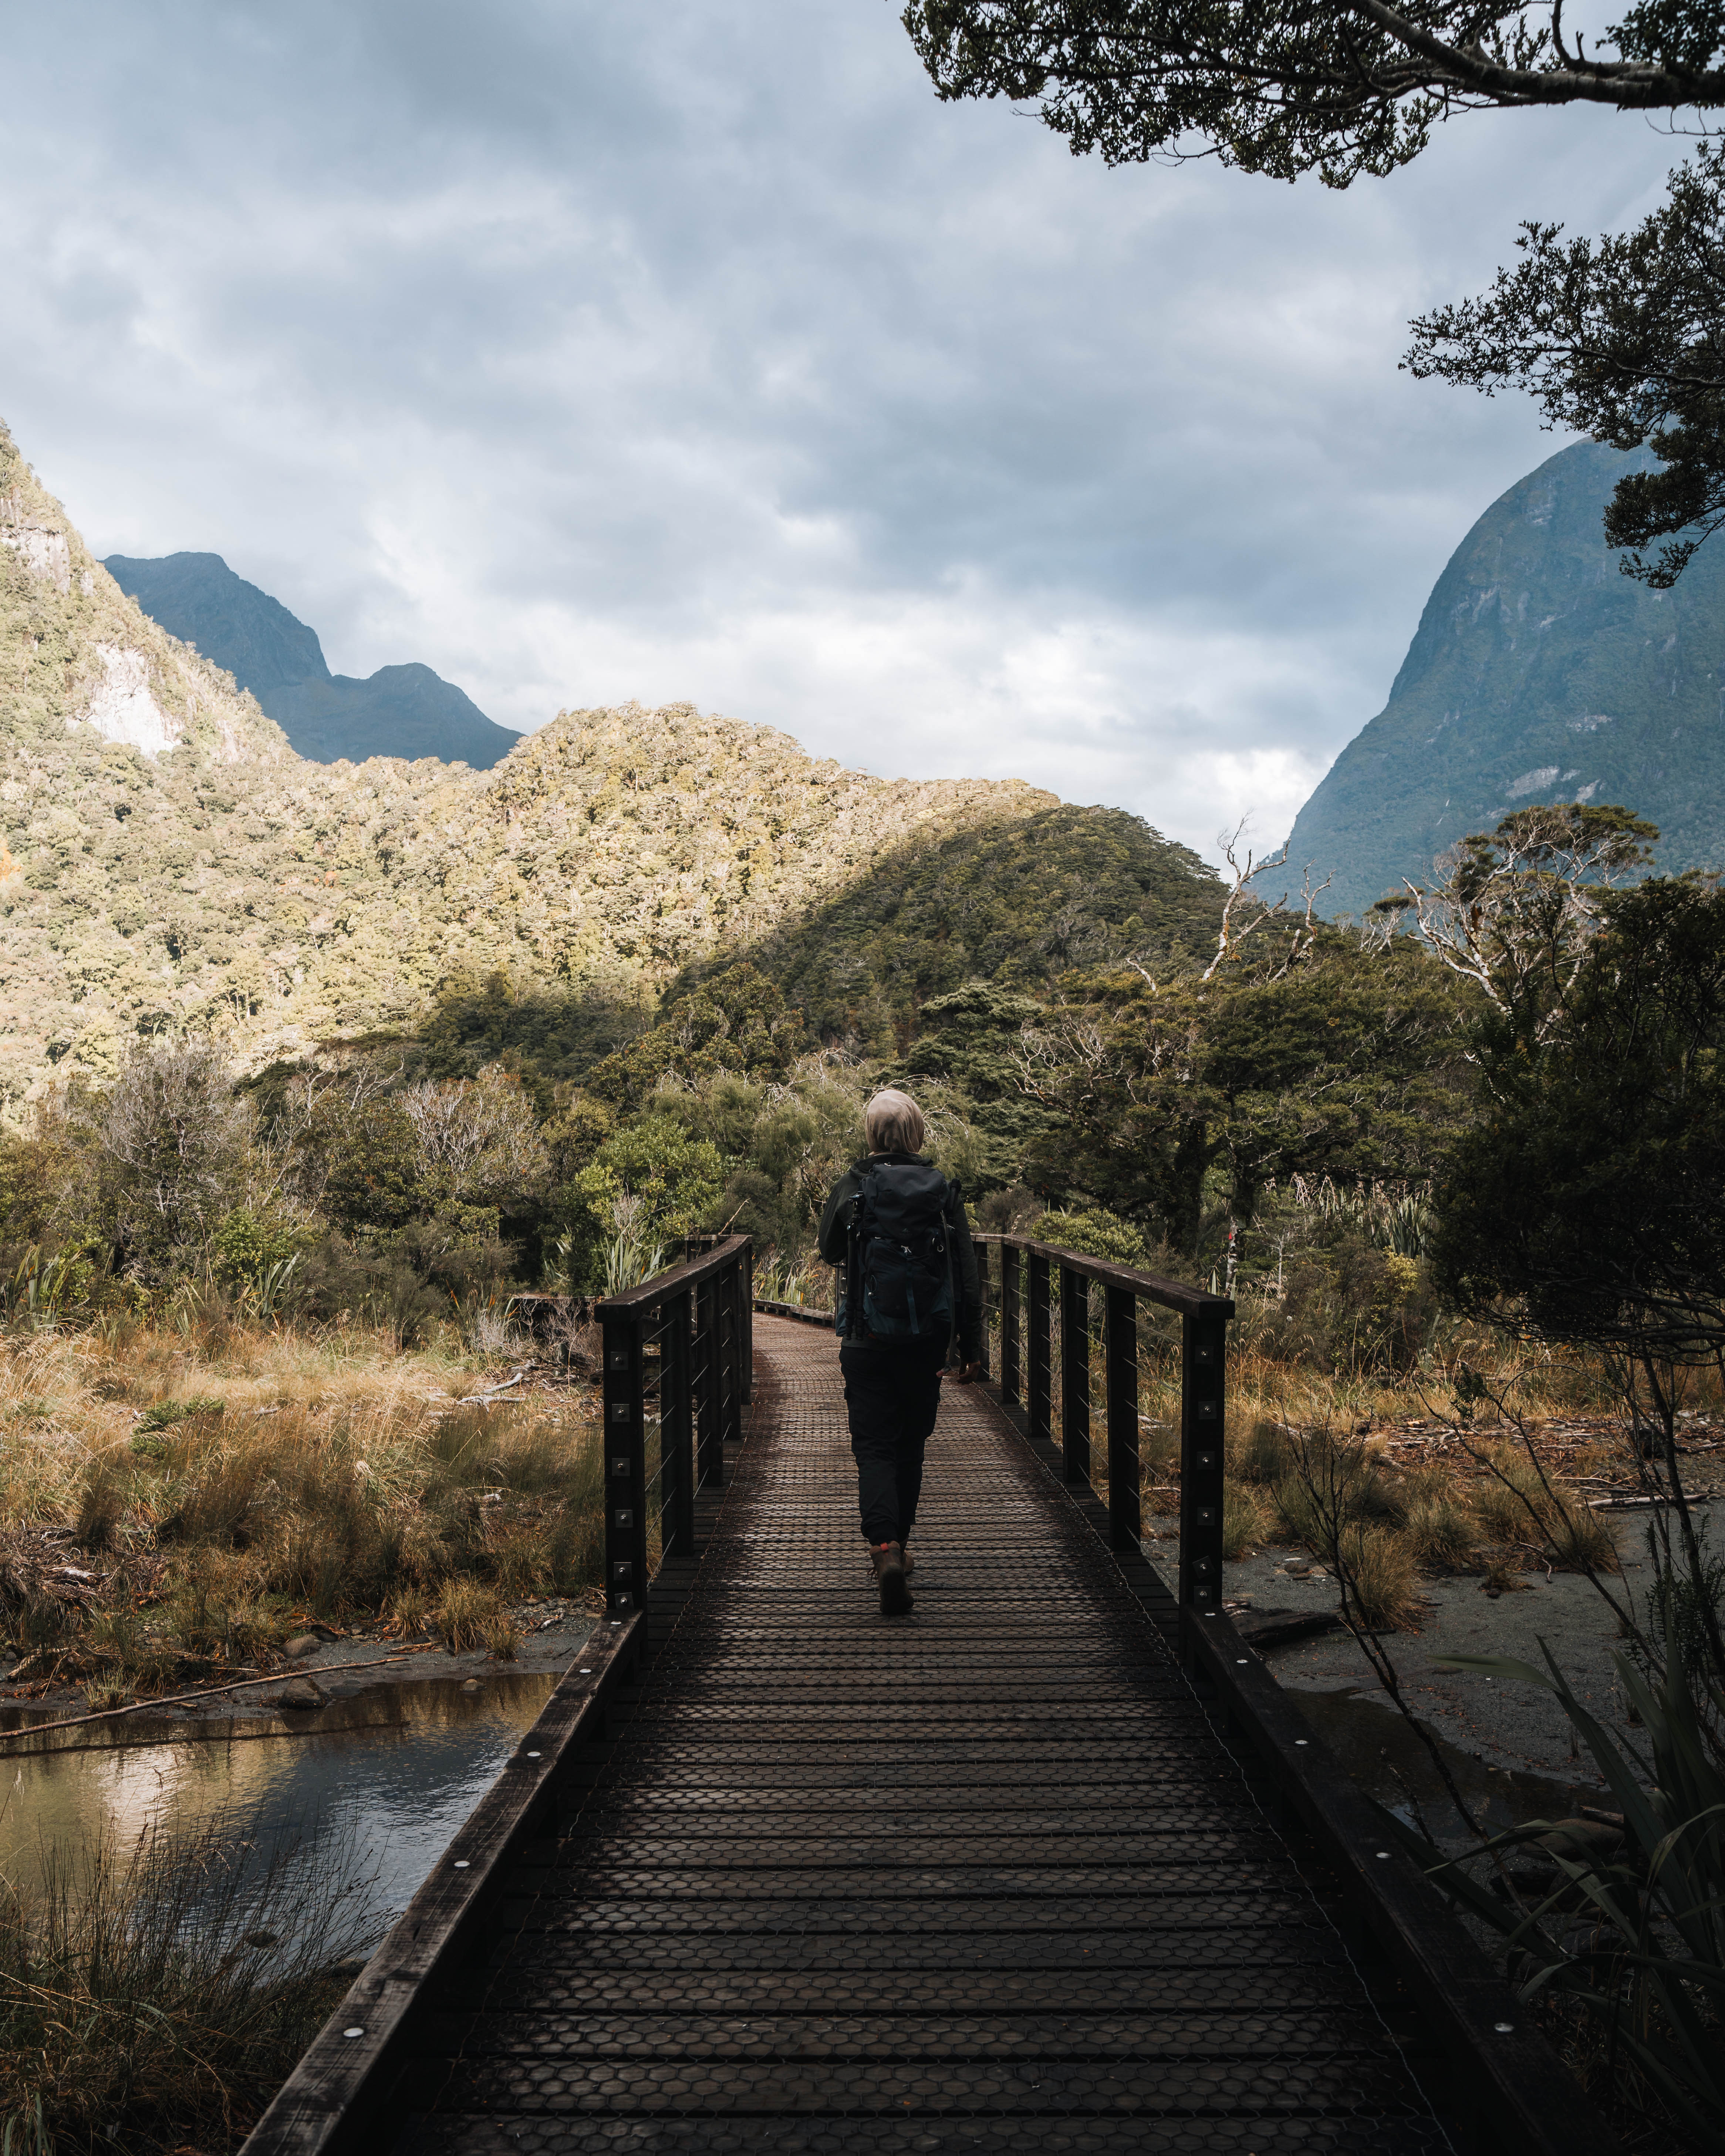
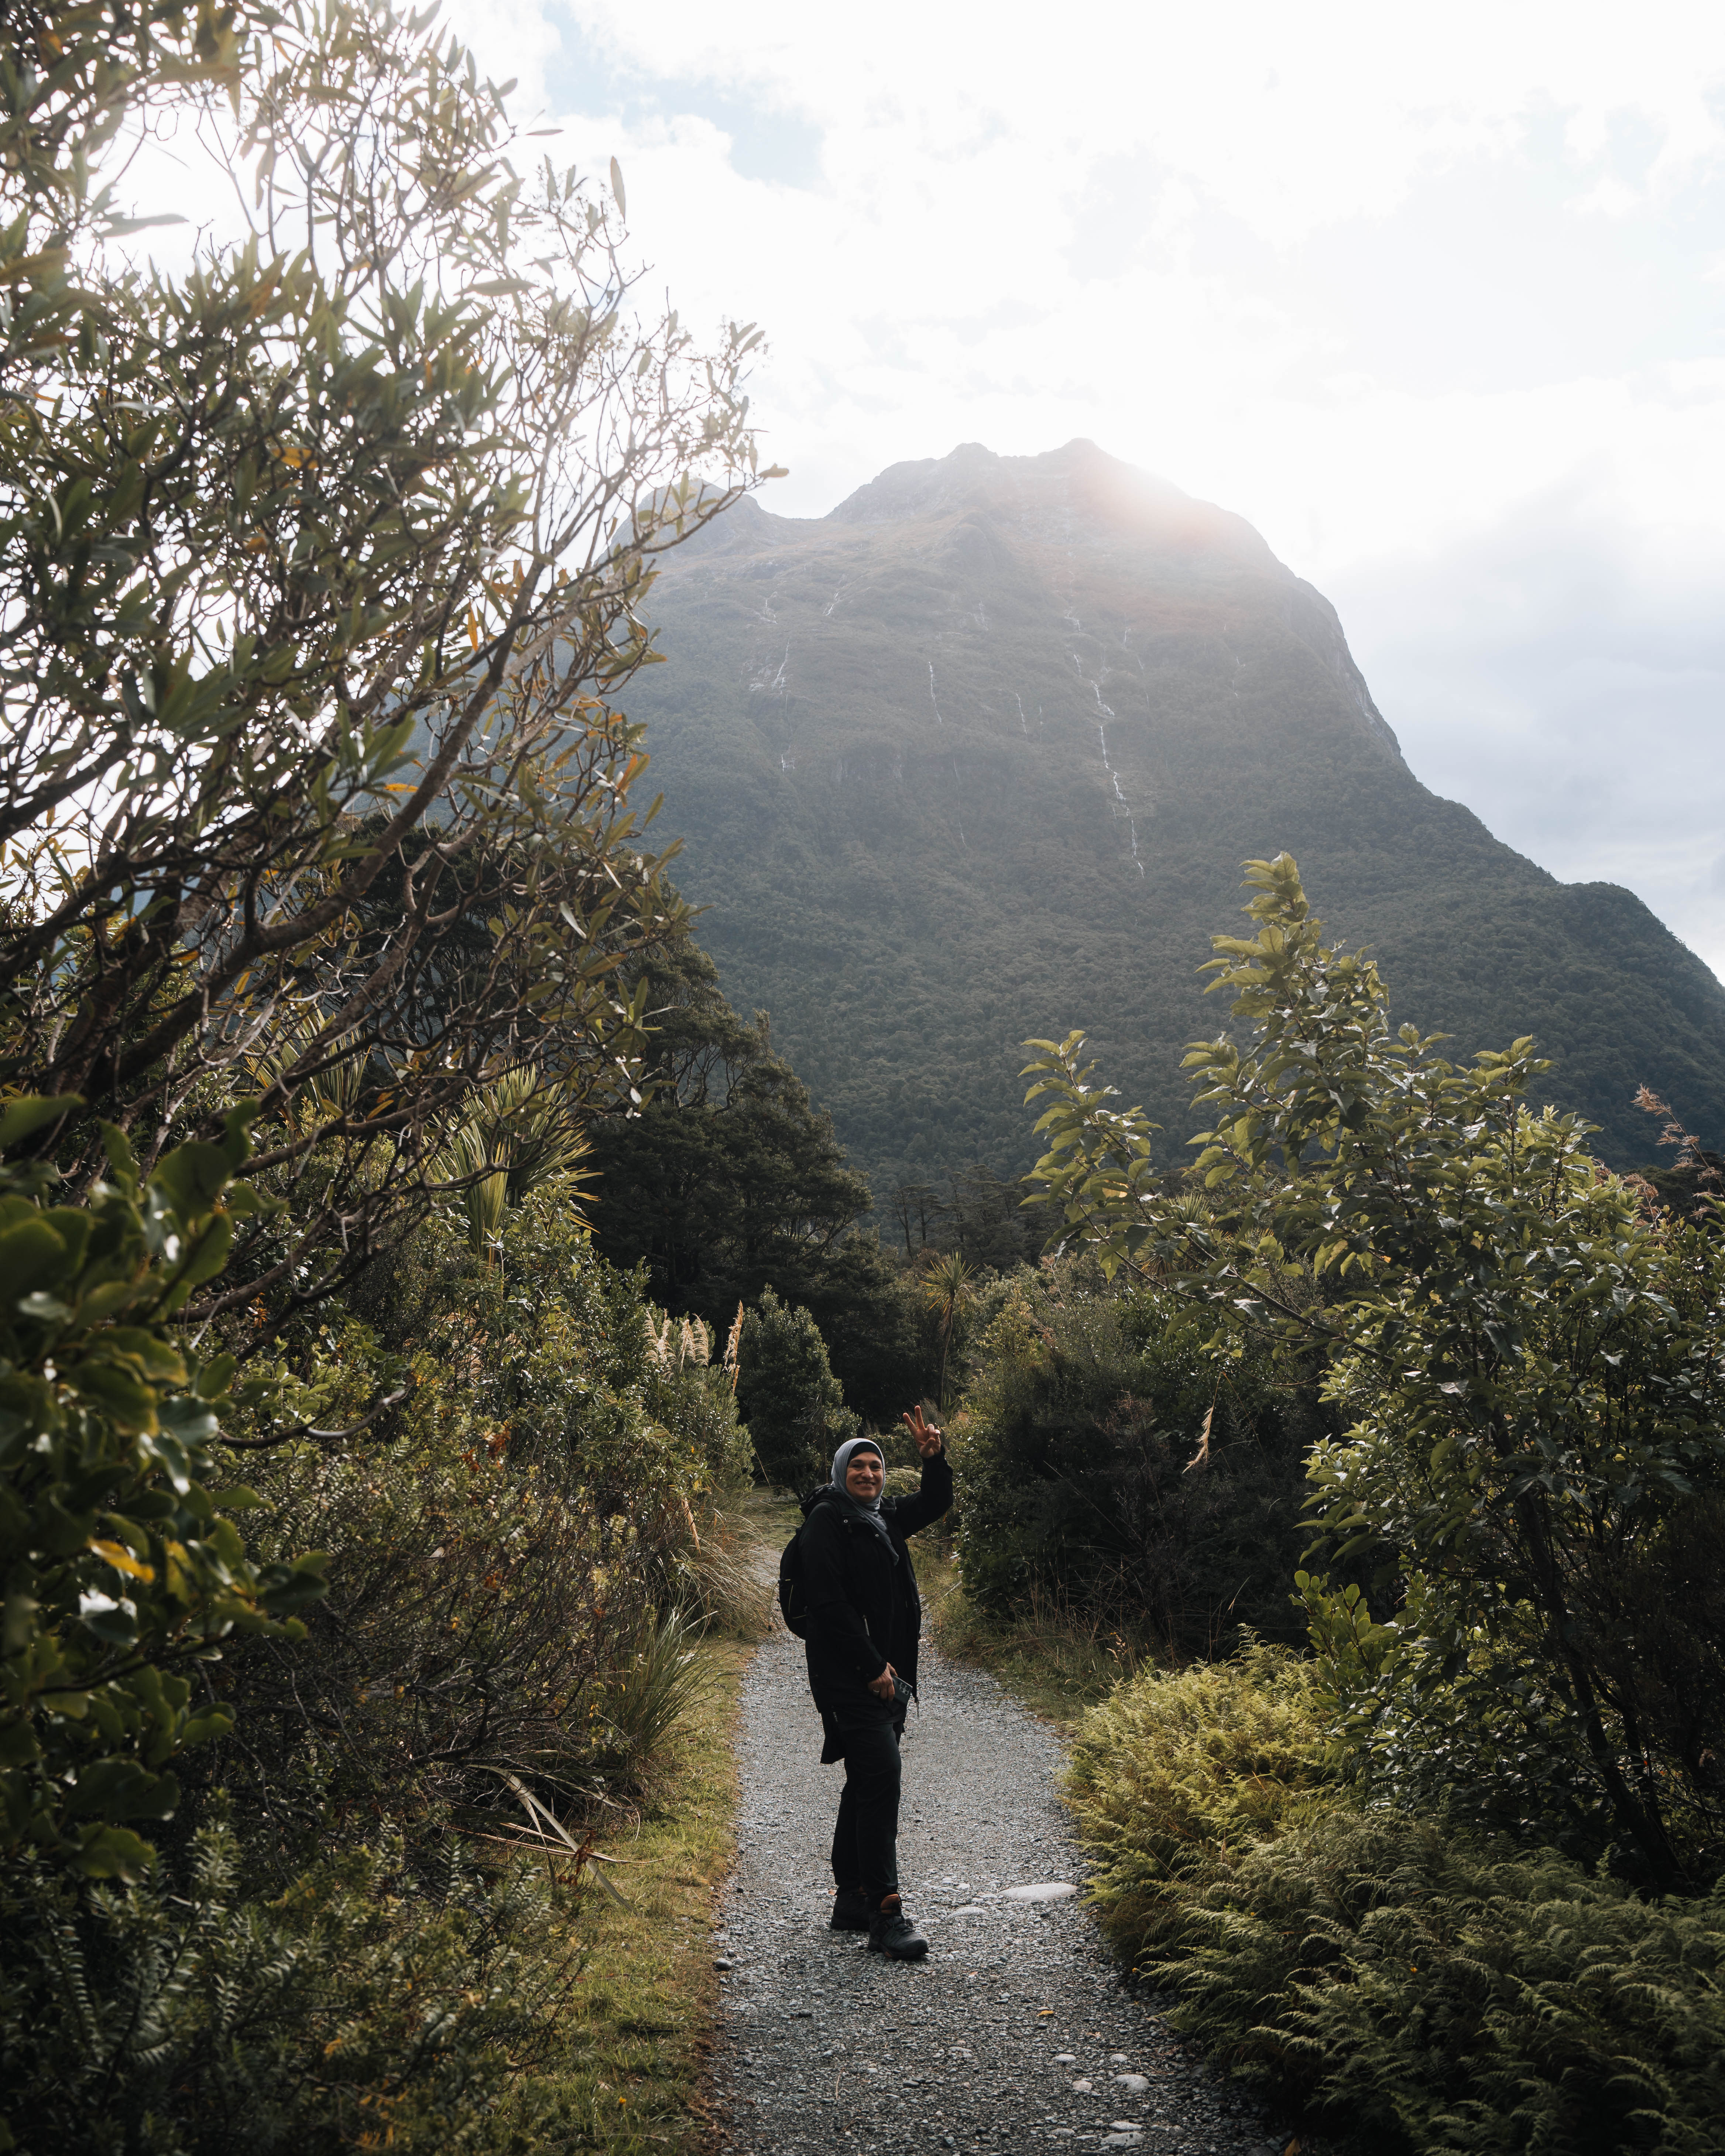
Hikes/activity: Lake Marian Hike (if time permits) or Lake Gunn Nature Walk (45 mins, 1.4 km loop) & Milford Sound Foreshore Walk after arrival.
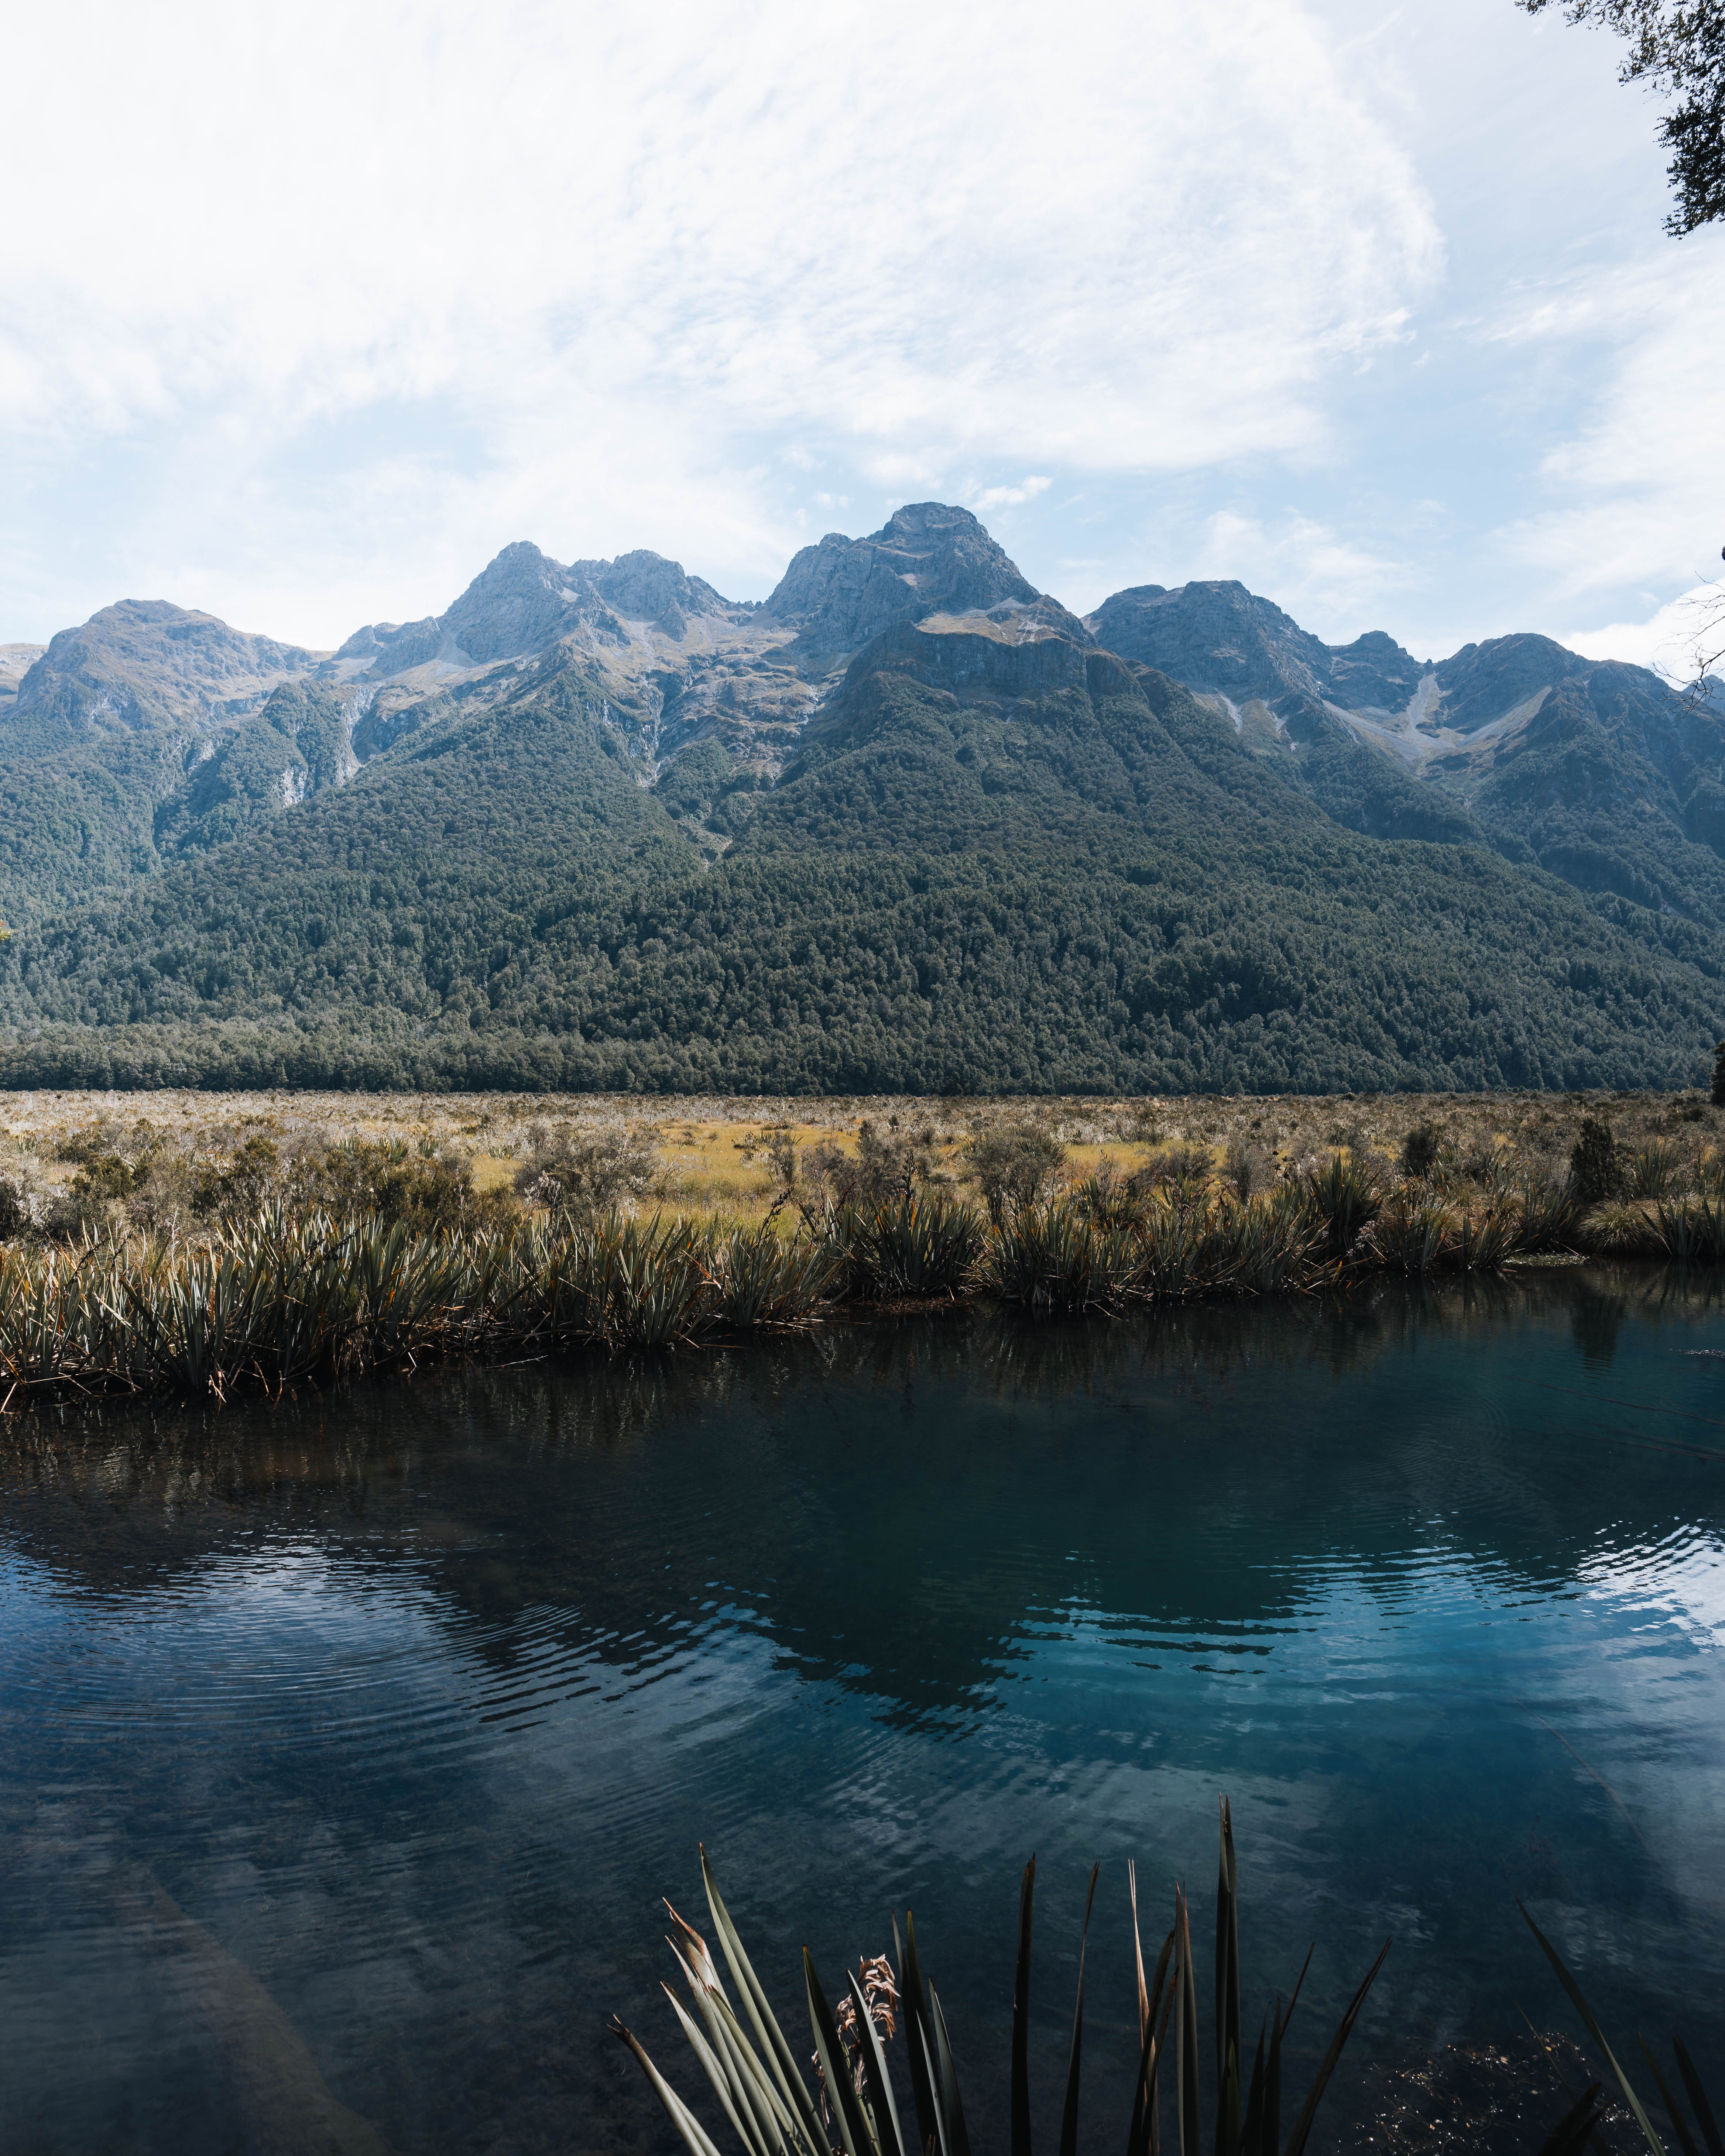
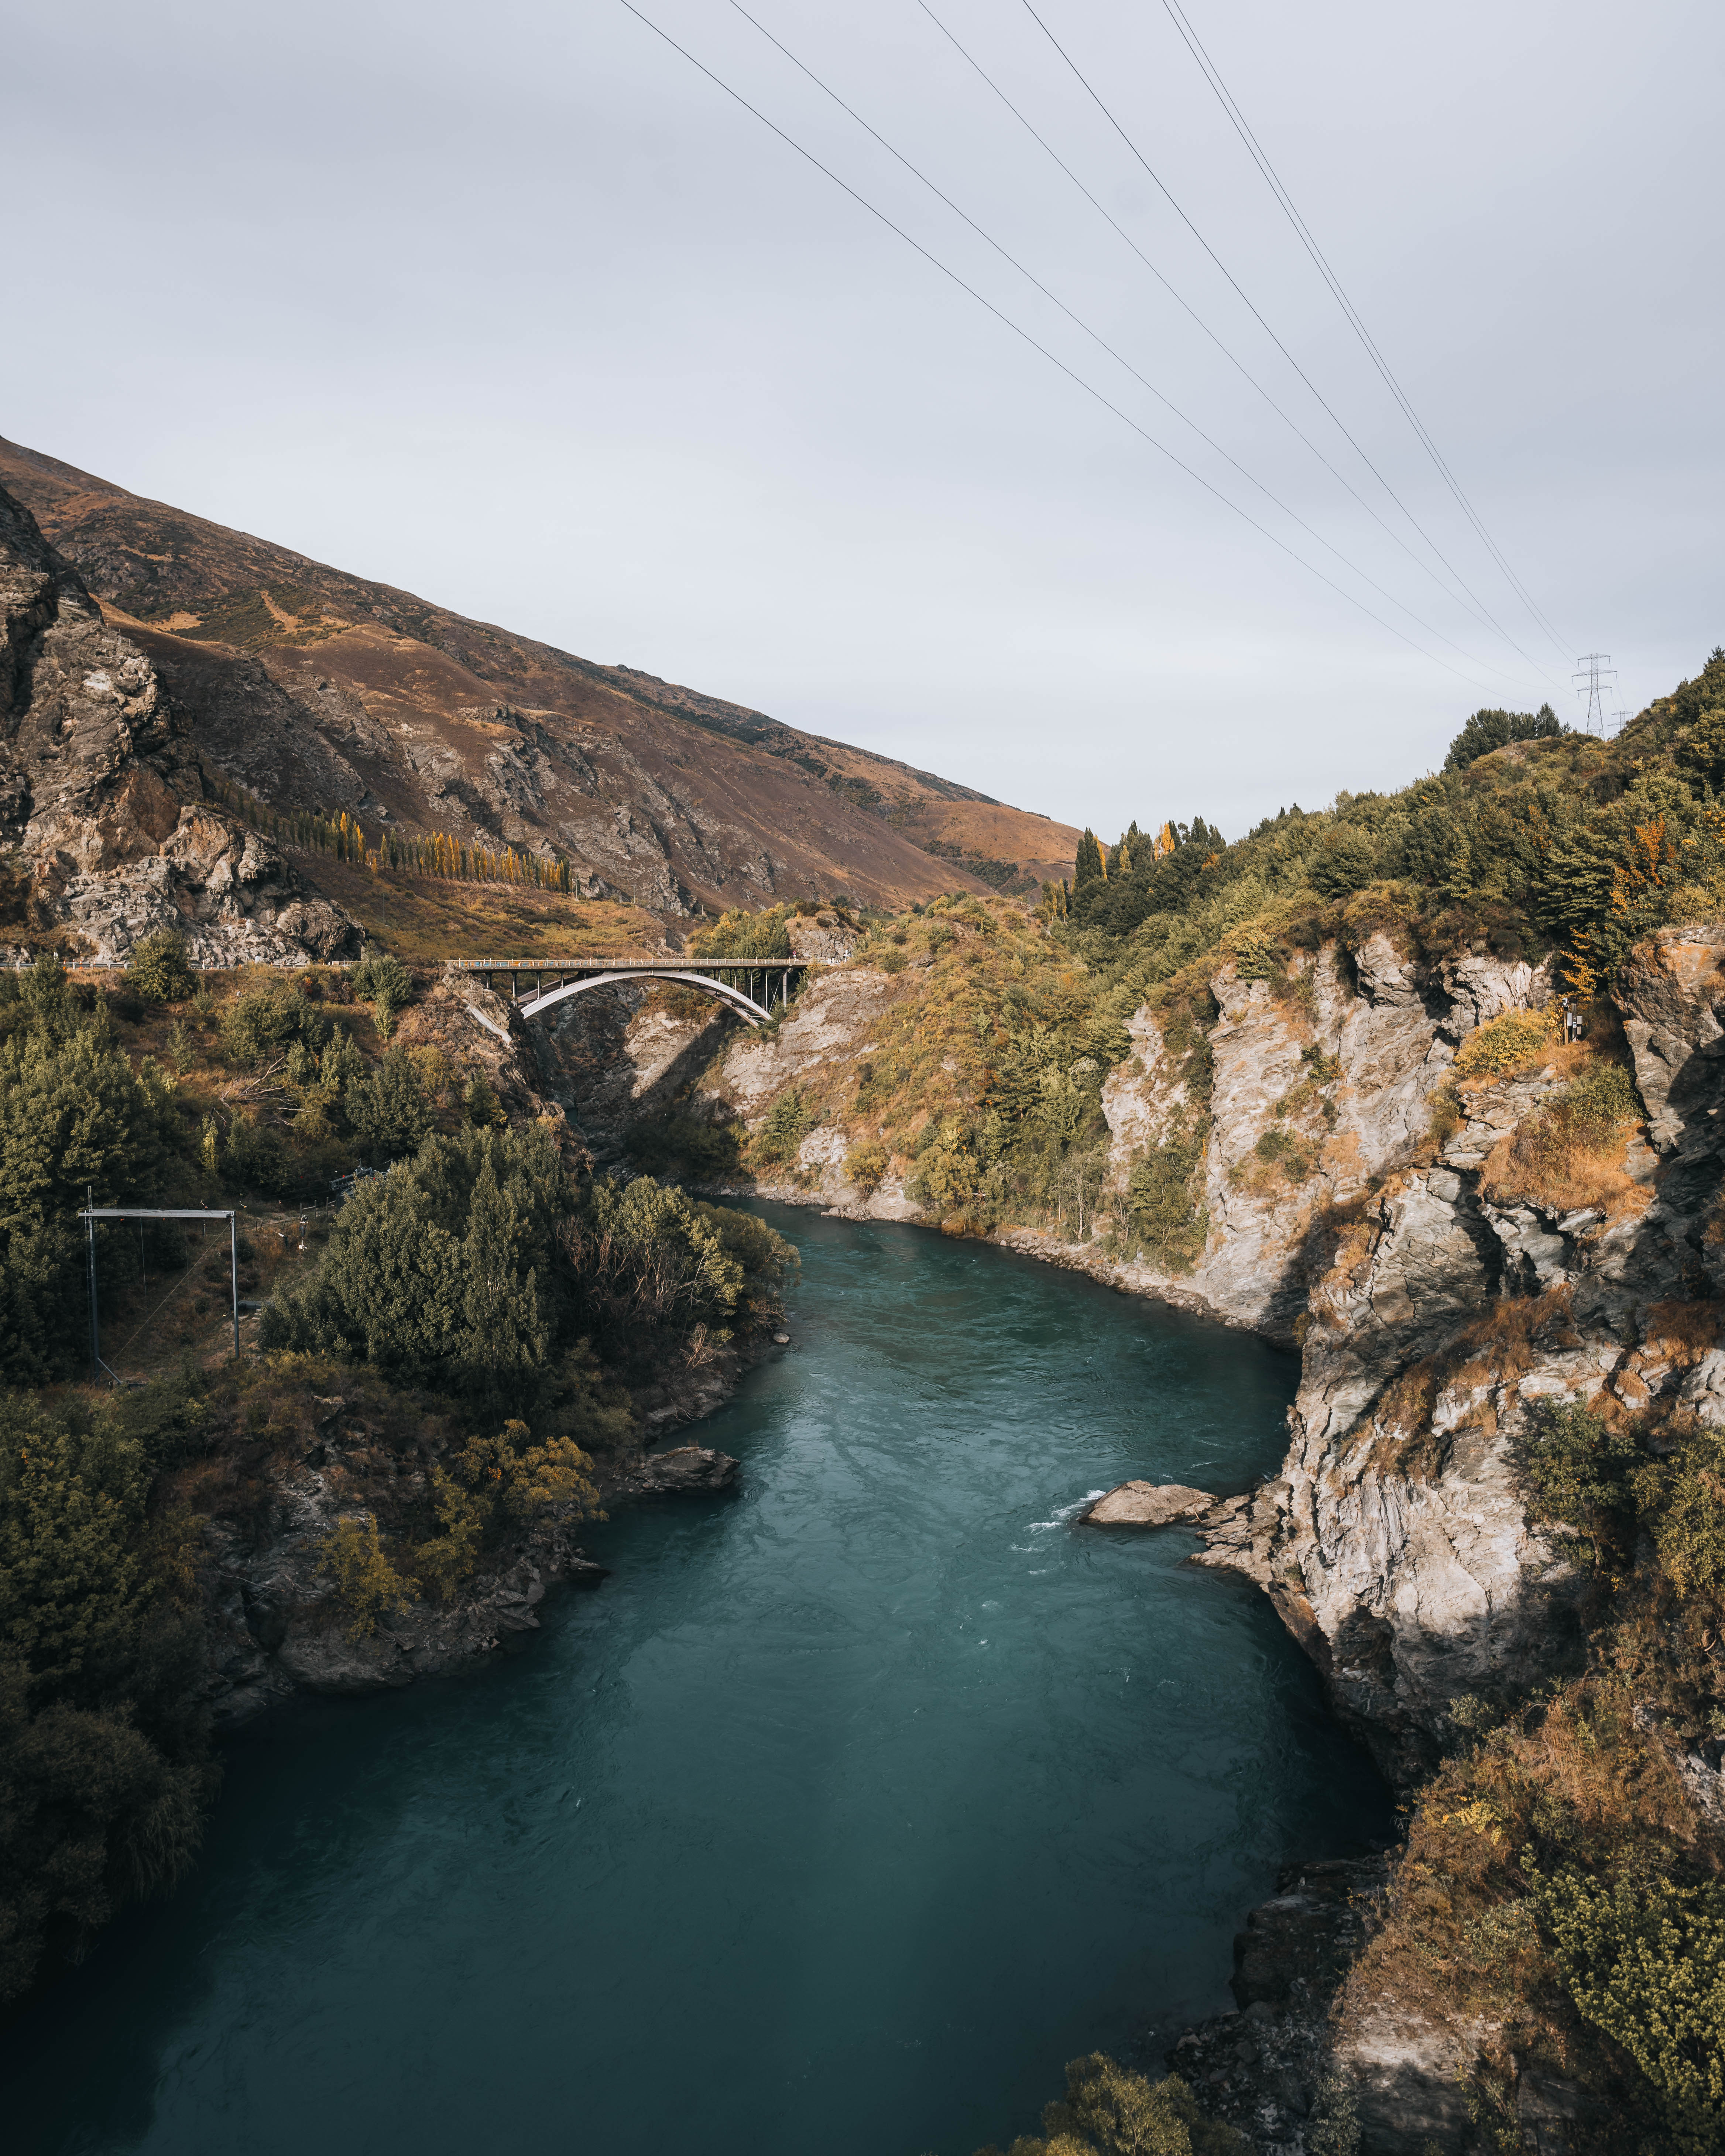
Stops: One of the most incredible drives in NZ! There are so many beautiful stops along the whole drive. Don’t miss mirror Lakes, Homer Tunnel entrance and Eglington Valley—famous for its picturesque views.
Back up: The Key Summit Track offers panoramic views and is a manageable detour.

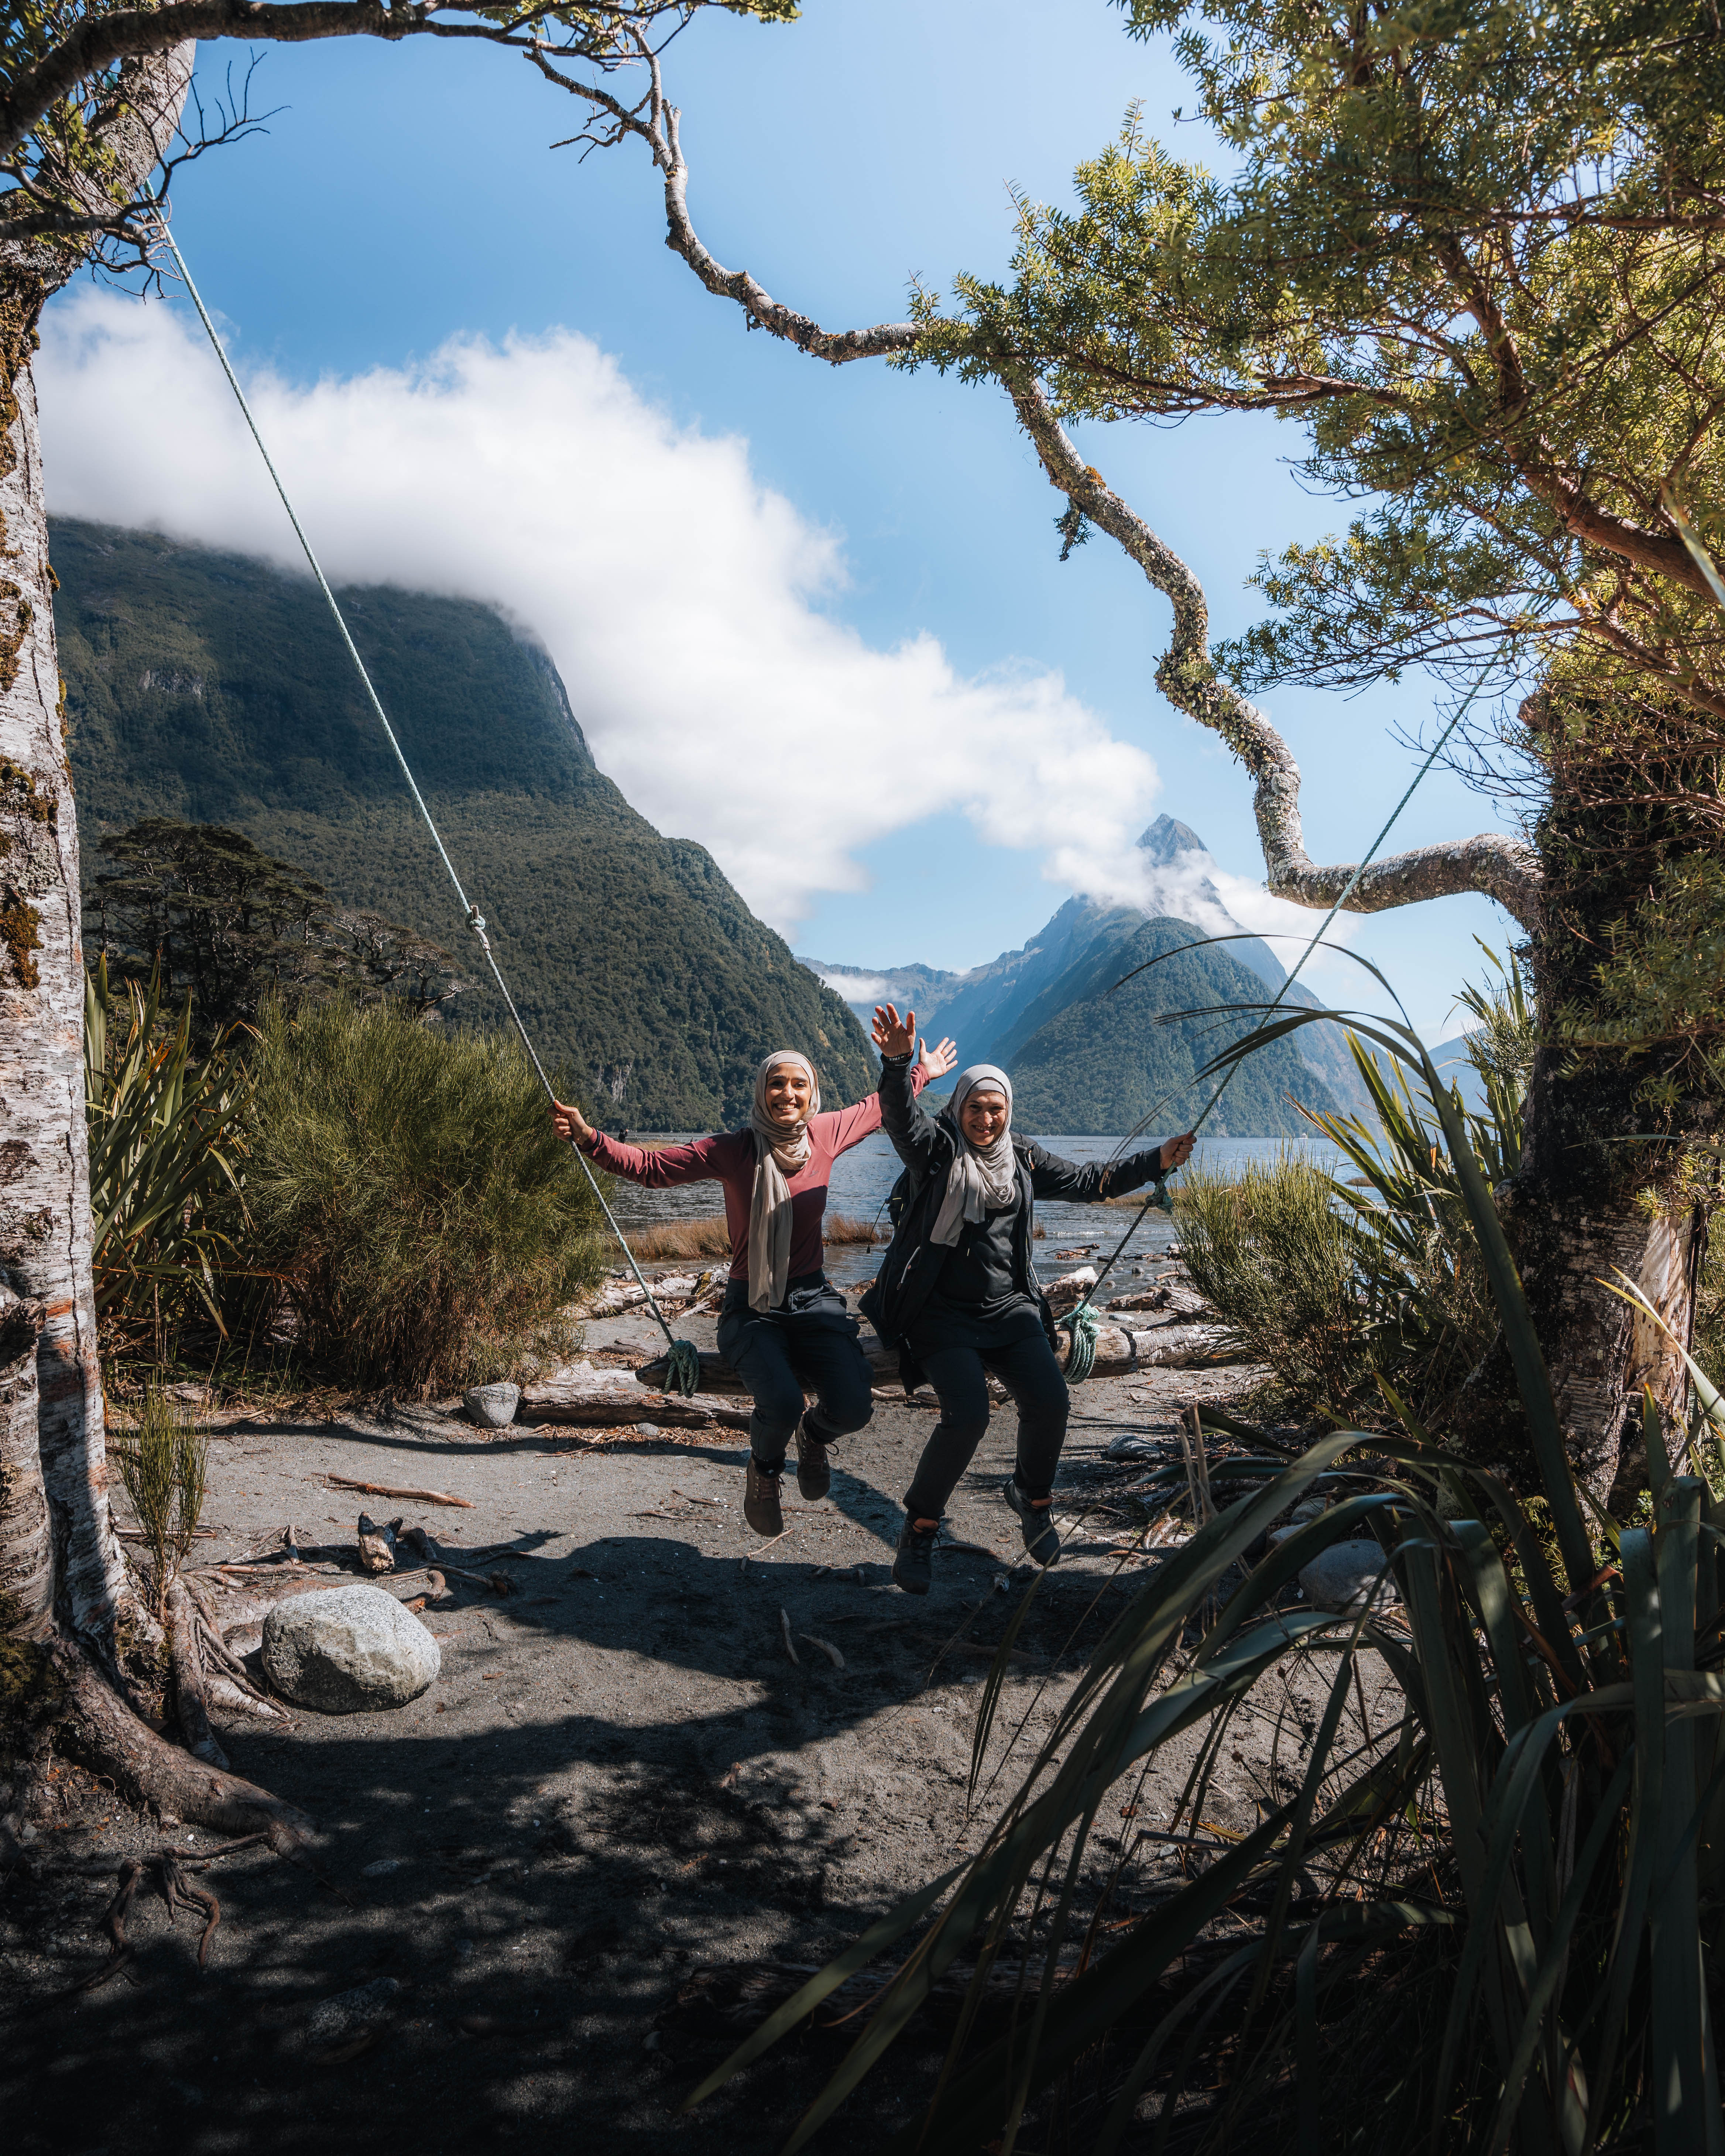
Day 6 | Milford Sound (Day 2)
Route: Milford Sound
Time Driving: N/A - Just around Milford Sound
Campervan Park: Milford Sound Lodge
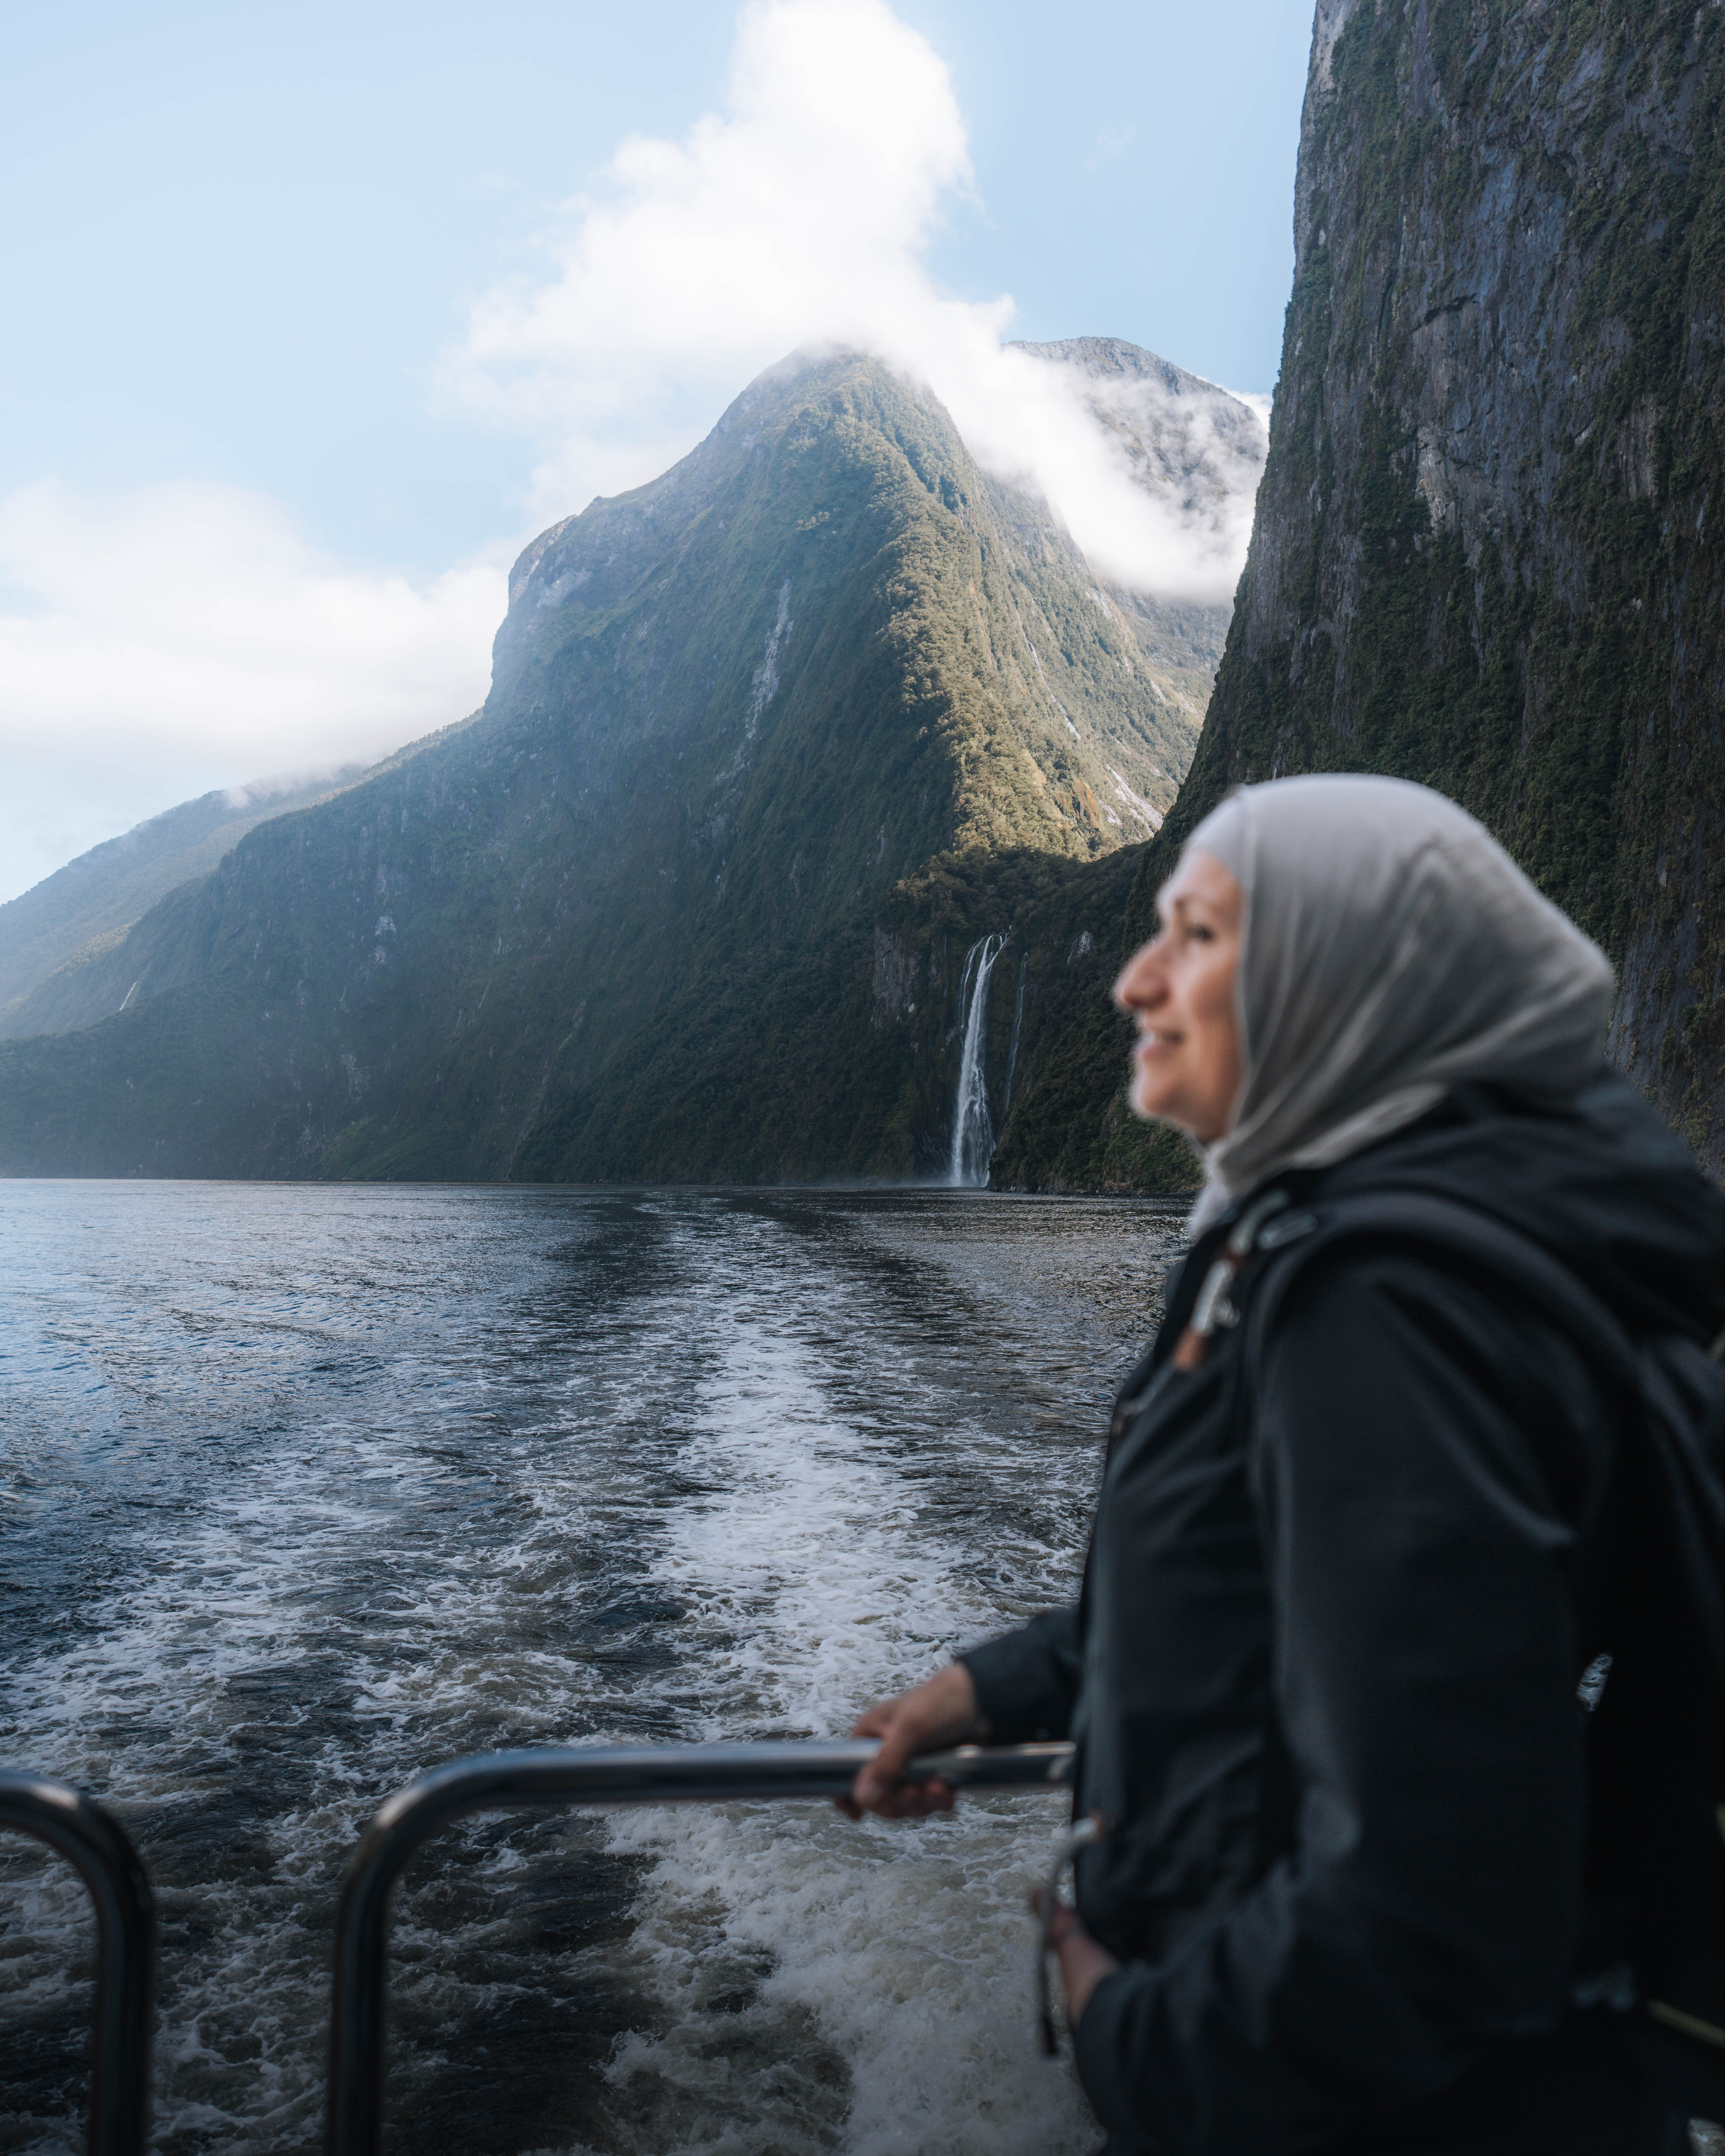
Hikes/activity: 11 km morning Milford Sound Hike (book the water taxi with Fiordland Outdoor to get to the start of the hike) and an afternoon cruise at Milford Sound.
Back up: Kayaking in Milford Sound
Day 7 | Milford Sound to Queenstown
Route: Milford Sound to Queenstown
Time Driving: ⏱️ 4 hours 📏 291 km
Campervan Park: Queenstown #powered or Lowburn Harbour Overnight Campervan Parking #non-powered
Hikes/activity: Lake Marian Hike (if you didn’t get a chance on day 5)
Stops: Any stops or hikes we missed out on day five. Visit Te Anau if you want some local dining options or to stop for coffee near the lake.
Back up: Visit the Te Anau Glowworm Caves
Day 8 | Queenstown to Lake Pukaki
Route: Queenstown to Lake Pukaki
Time Driving: ⏱️3 hours 📏 250 km
Campervan Park: Lake Pukaki Overnight Campervan Parking #non-powered
Stops: Lindis Pass Lookout for stunning views, visit Arrowtown, and if adventurous, try bungee jumping at Kawarau Gorge or the Shotover Jet as it’s on the way if you camped in Queenstown the night before. Quick stop by Puzzle World was also a lot of fun!
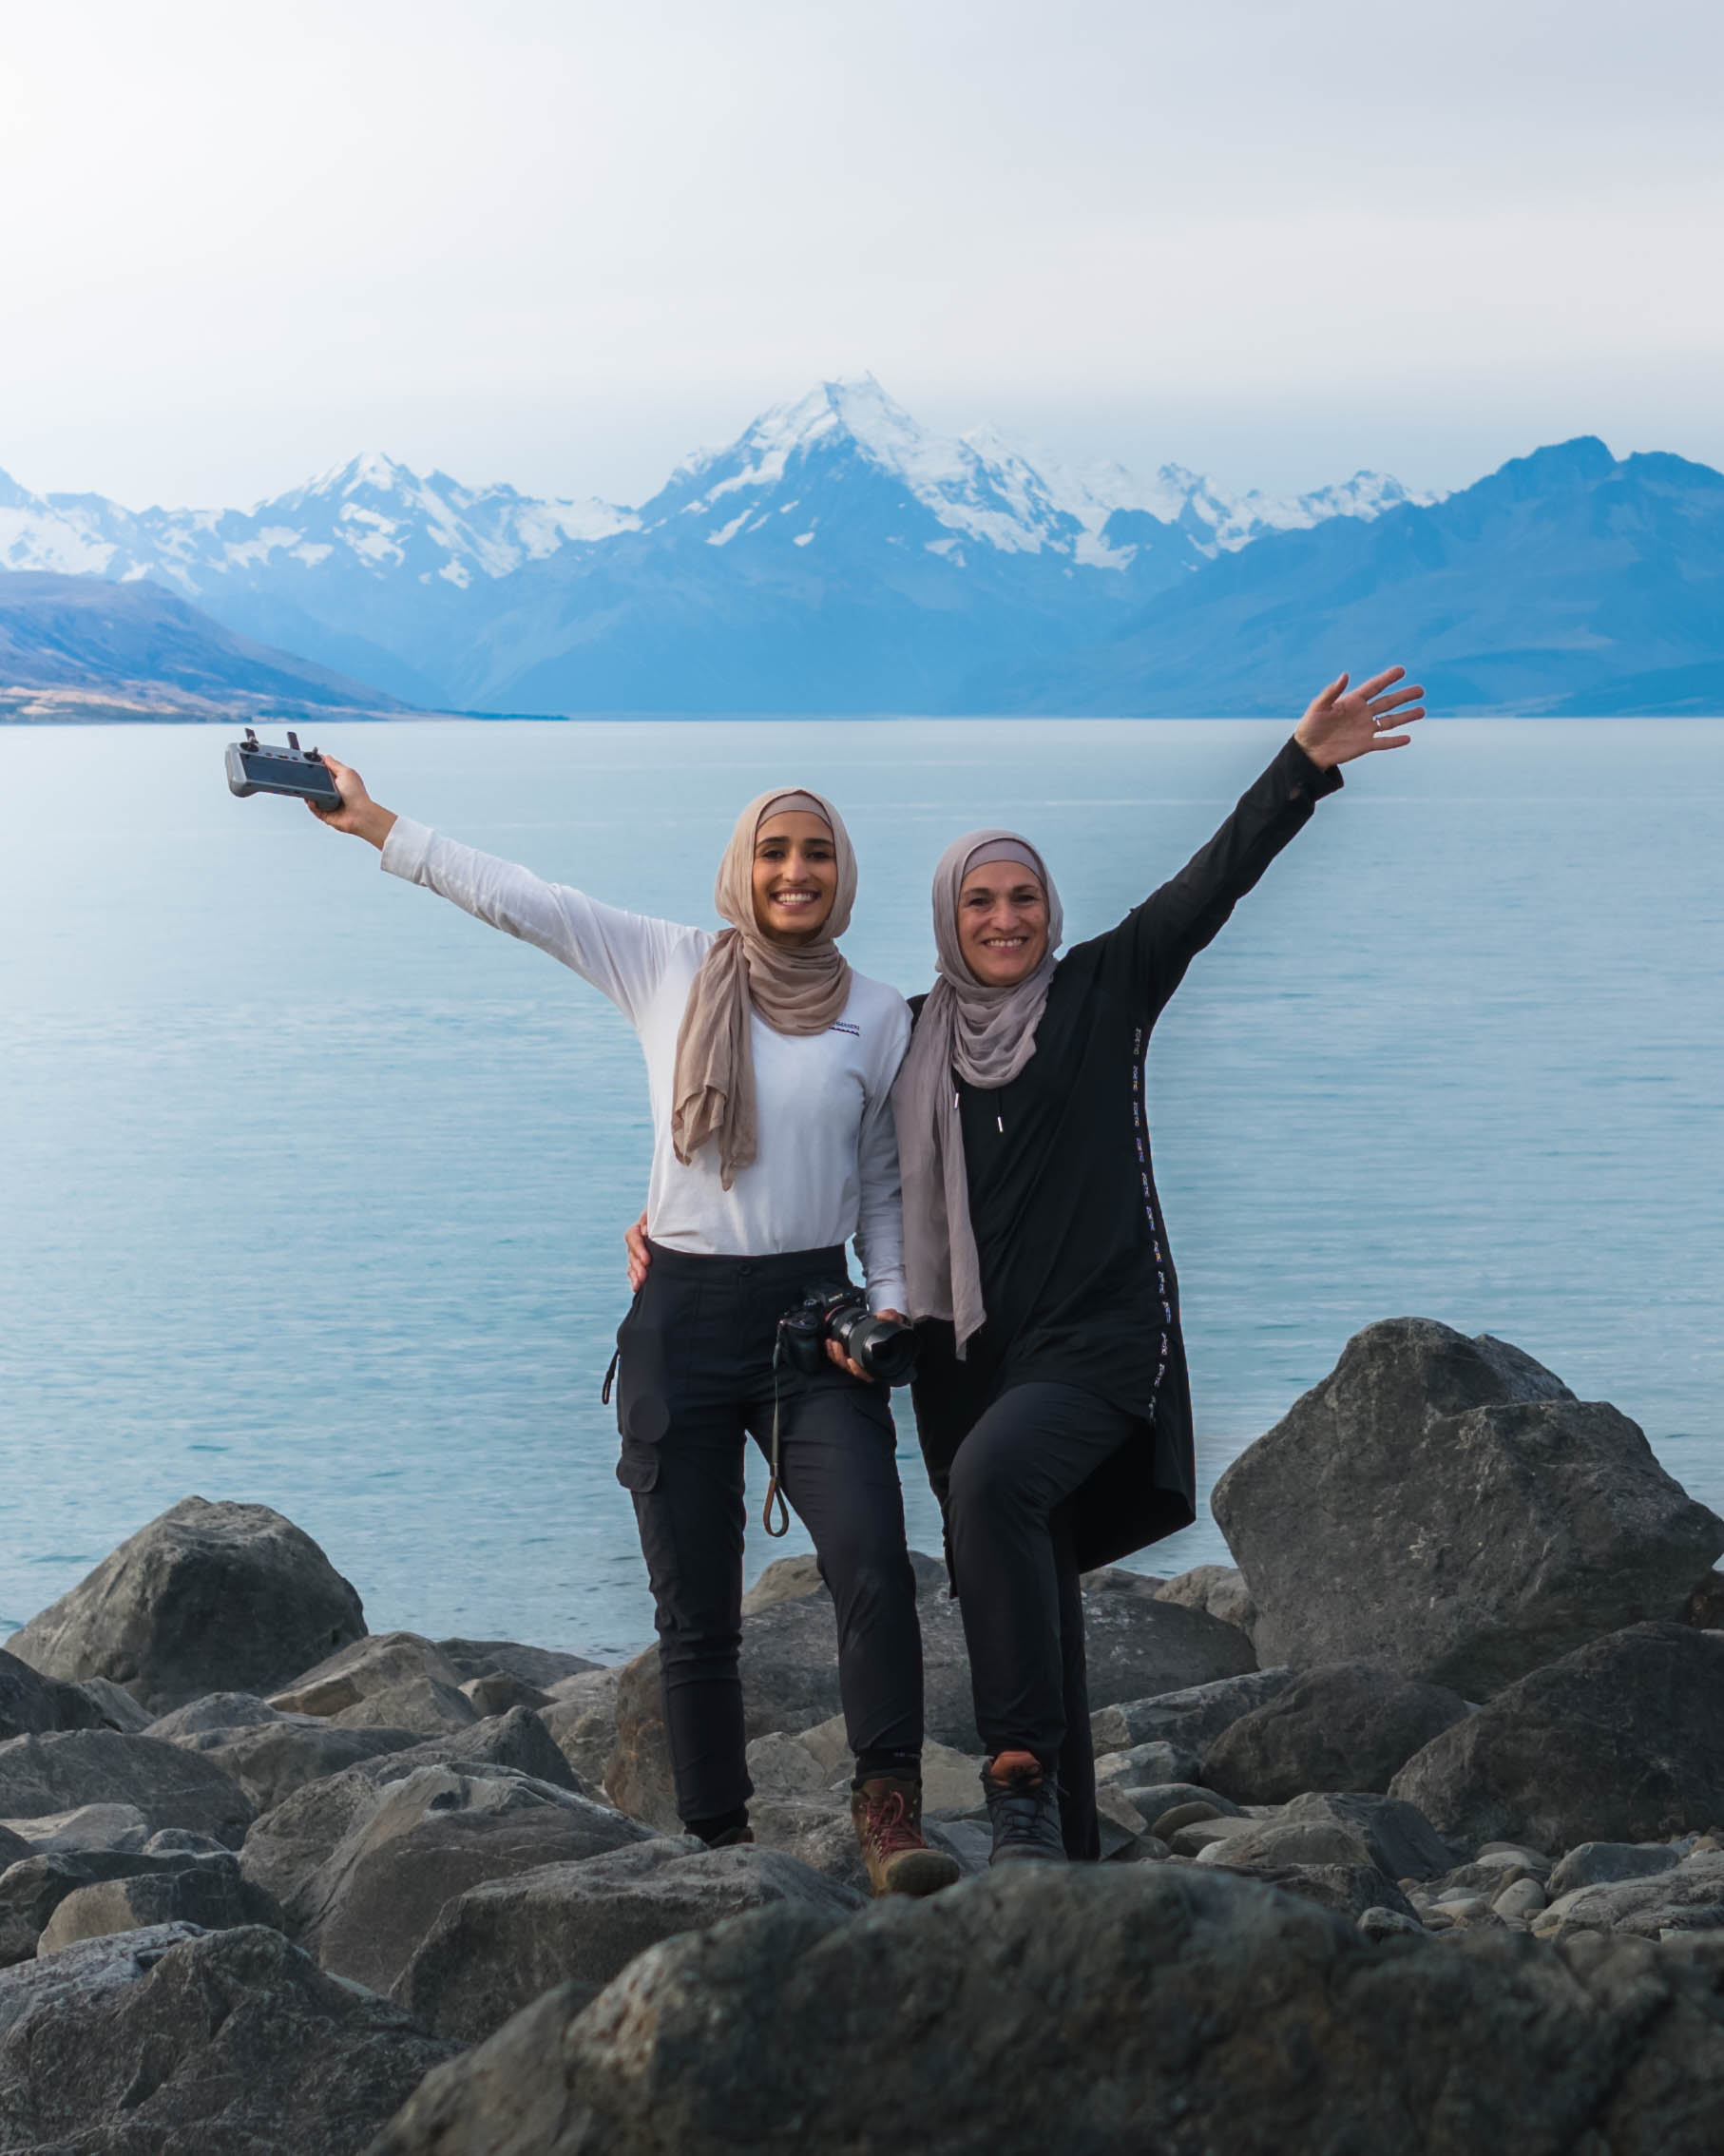
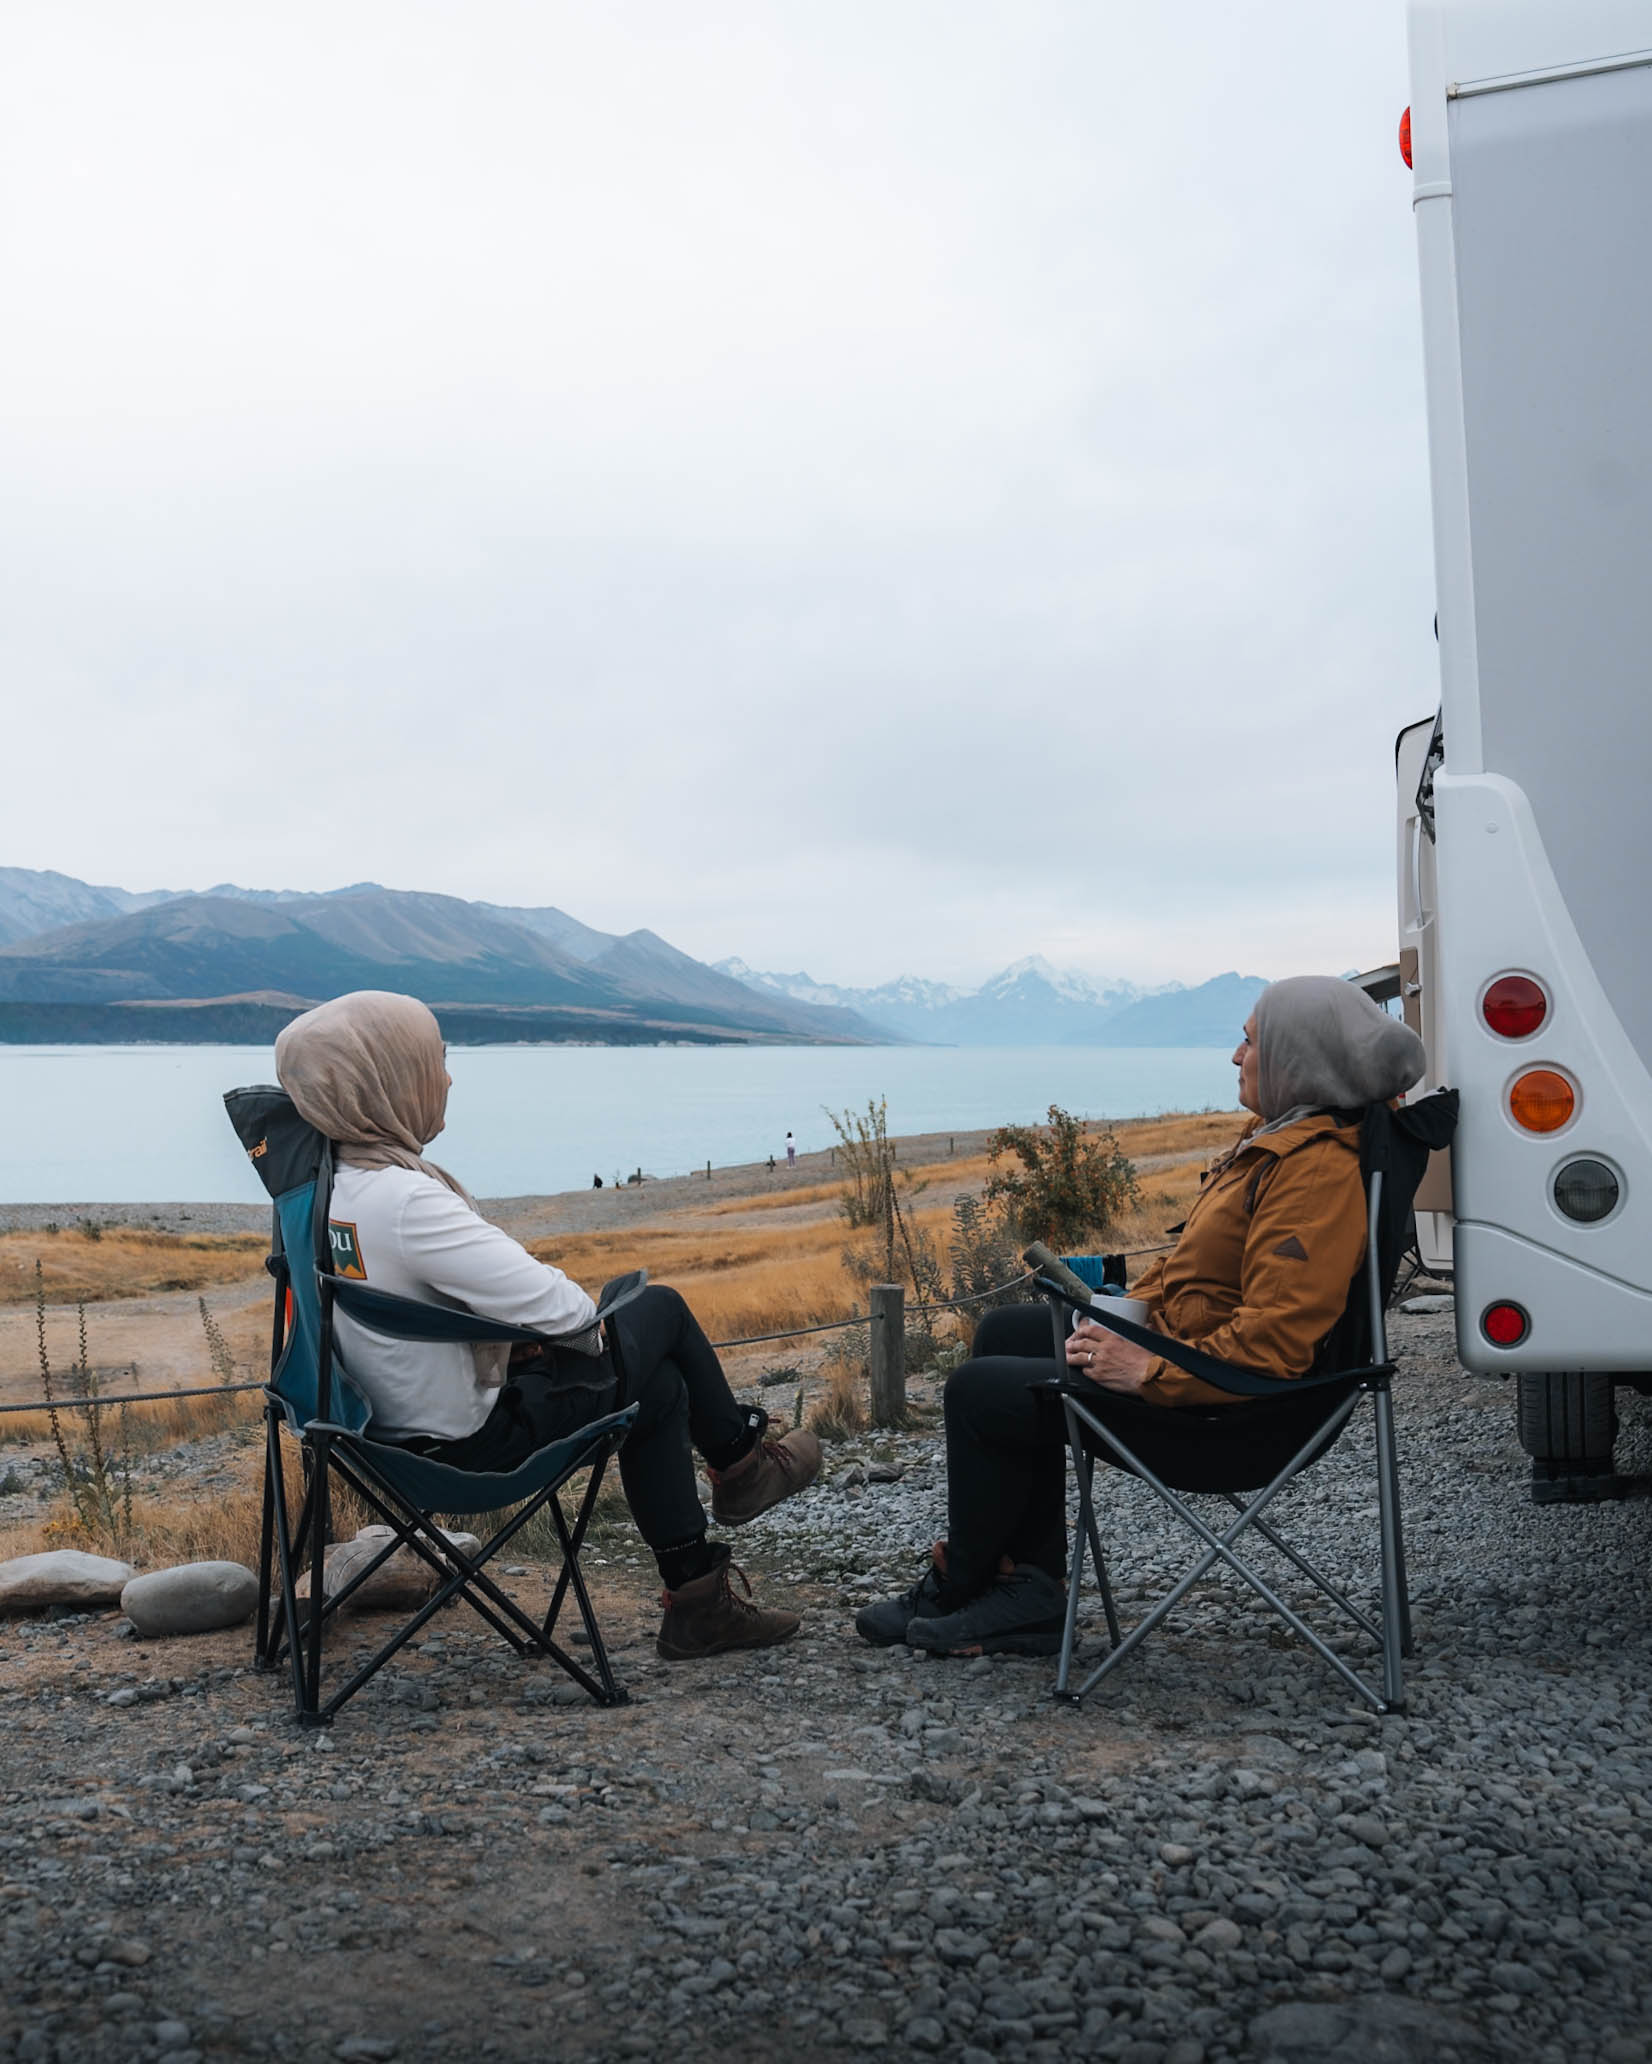
Notes: Lake Pukaki was both the first stop of our journey and our favourite camp spot of the trip. We made a point of arriving early to savour our last night. We spent time enjoying the afternoon, cooked our last dinner and spent sunset overlooking views of Mount Cook.
Day 9 | Lake Pukaki to Christchurch
Route: Lake Pukaki to Christchurch Aiport
Time Driving: ⏱️ 3 hours 📏 227 km
Campervan Park: N/A
Stops: Lake Tekapo - Church of the Good Shepherd & Tekapo Springs if you have extra time & Geraldine for a lunch stop and explore local artisan shops
Note: Allow extra time on your return to manage your campervan's needs. Before heading to the airport, you'll need to dump waste, refill water, petrol and AdBlue, empty grey water, and replace the gas tank. These facilities are conveniently located near the airport, but be prepared for possible delays, especially at the waste dumping area.
Additional Tips:
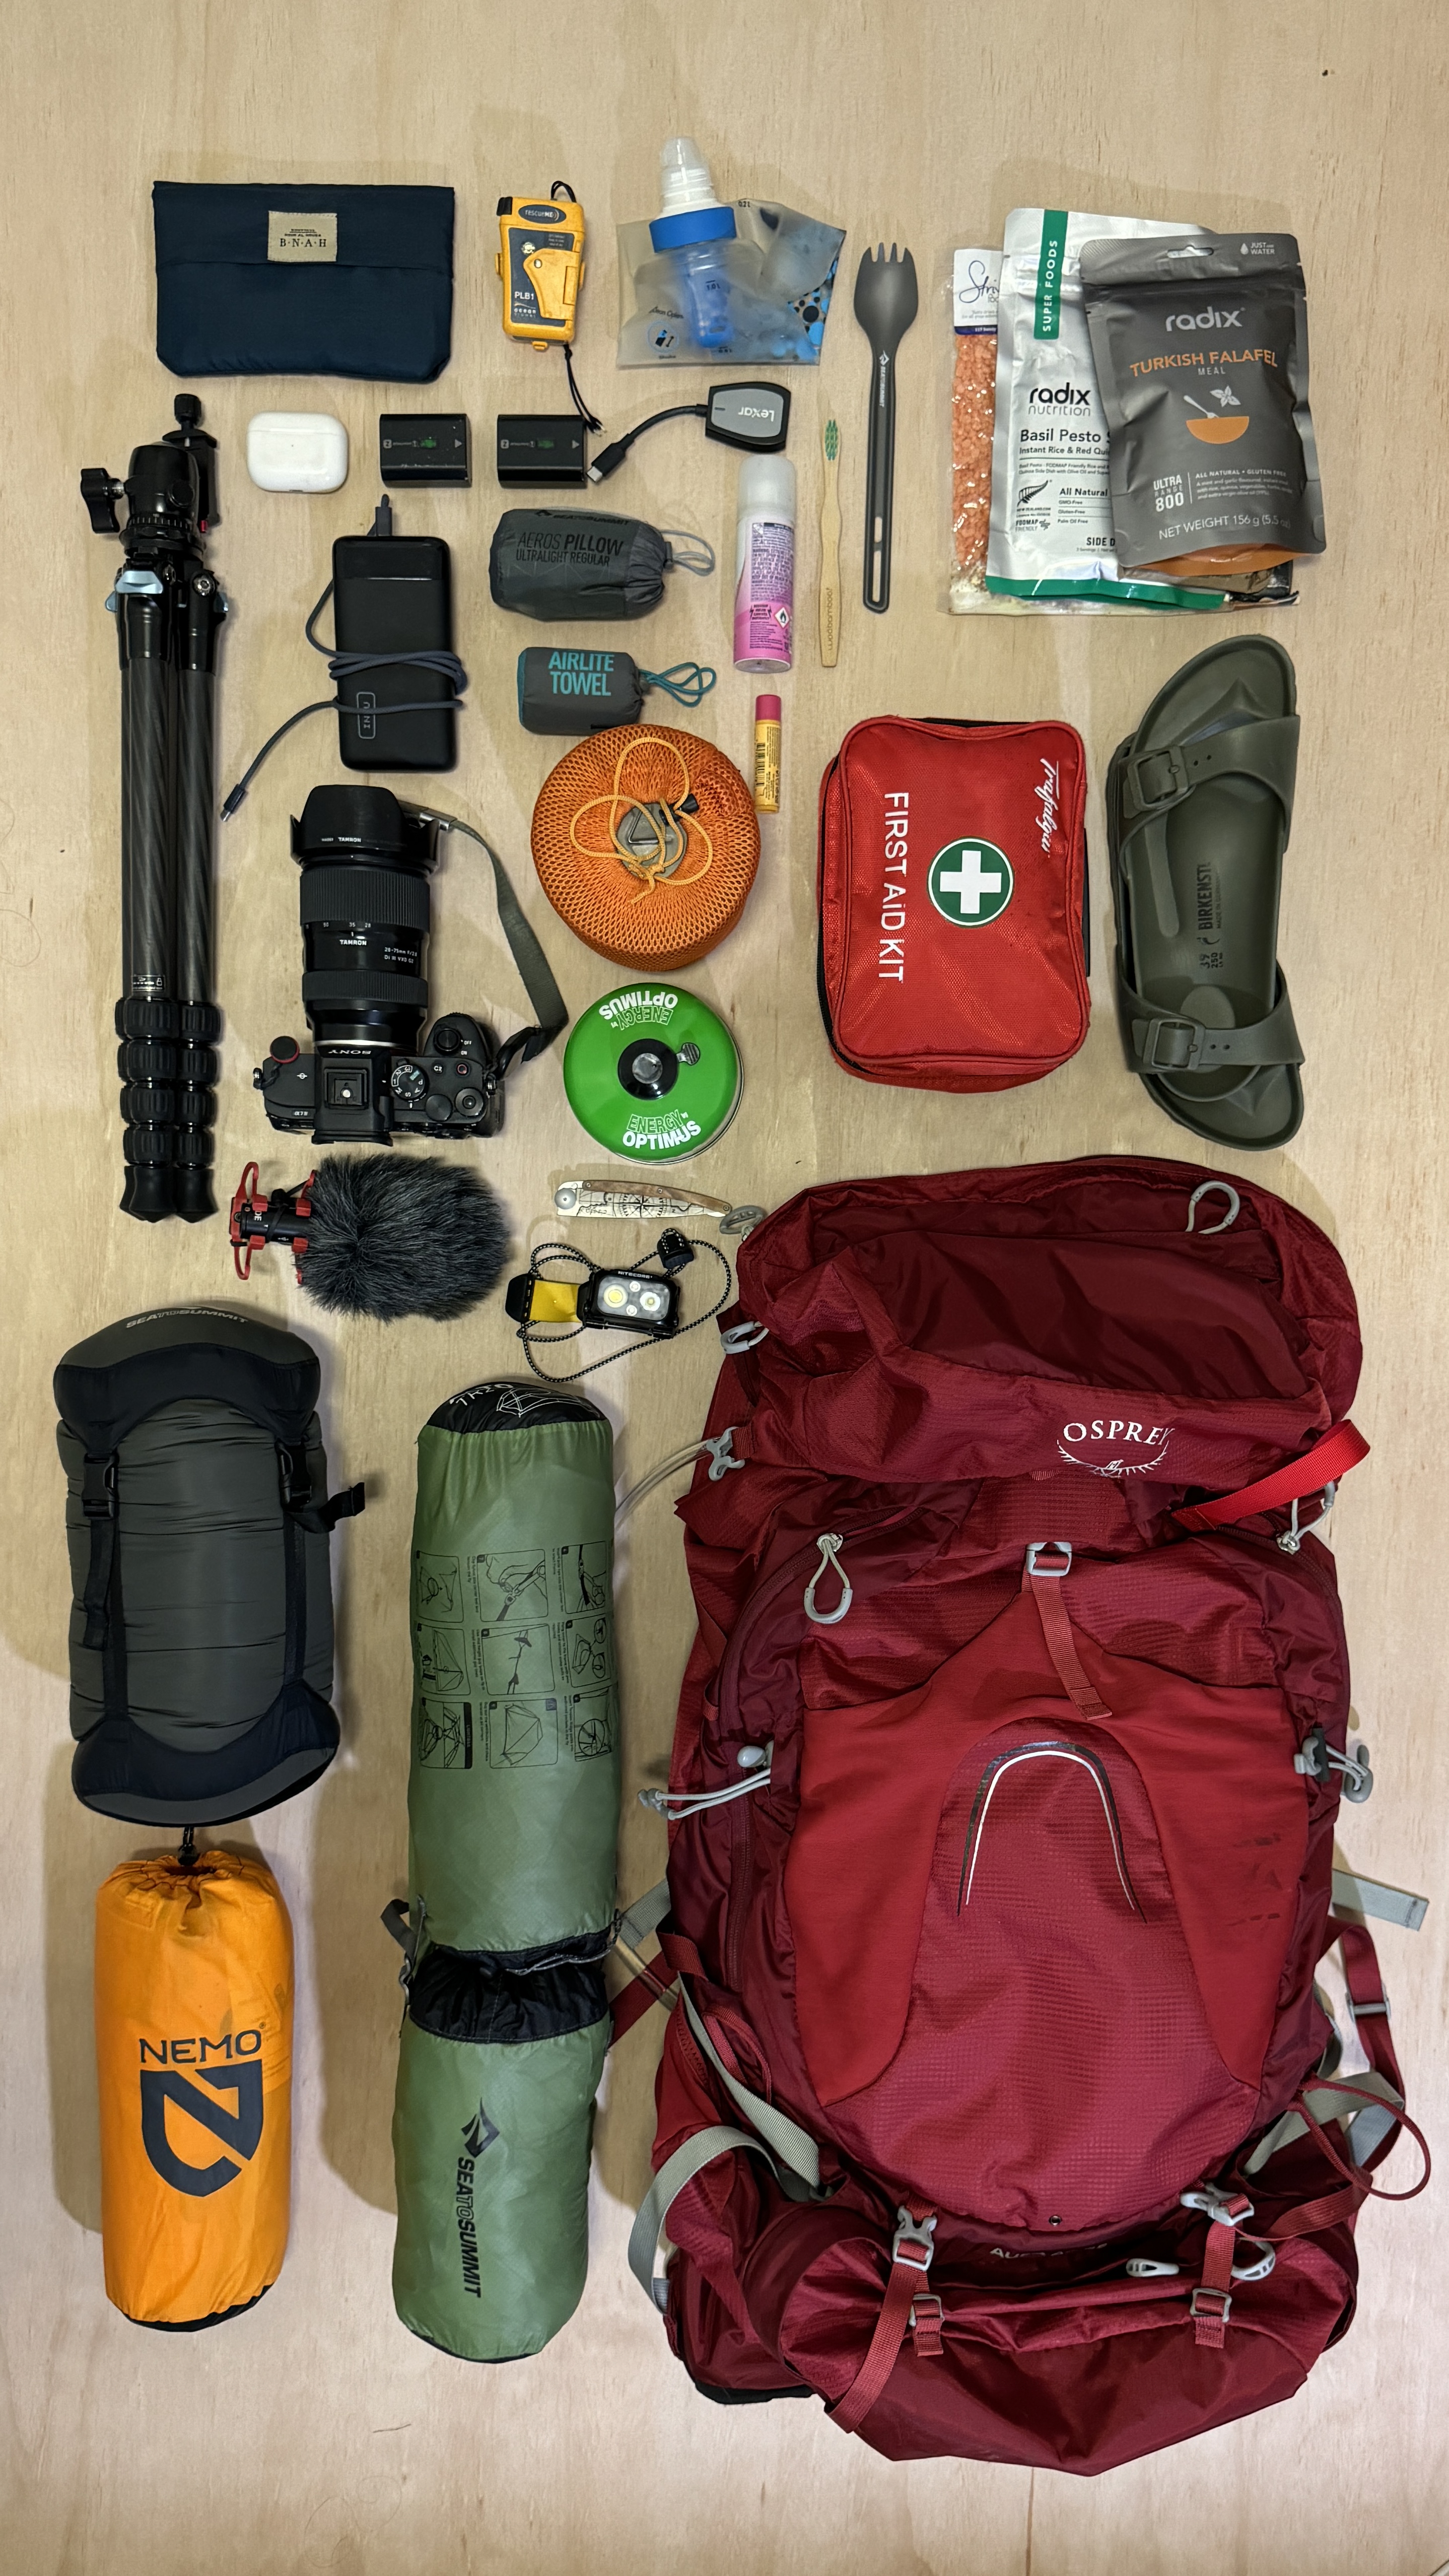
- Safety: Ensure your vehicle is well-prepared with essentials like water, food and a first-aid kit.
- Connectivity: Some areas may have limited cellular reception; download maps and important information beforehand.
- Environmental: Adhere to the 'Leave No Trace' principles, especially in freedom camping areas, to preserve New Zealand's pristine environment.
- Insect Repellent: Carry insect repellent, especially in areas like Milford Sound where sandflies can be particularly bothersome.
- Flexibility Is Key: Weather in New Zealand can be unpredictable. Adapt your plans and have back-up plans to make the most of it while ensuring safety!
- Start Early: Begin your days early to make the most of daylight and avoid the crowds at popular locations.
Wildlife and Natural Hazards:
- Be aware of the local wildlife, which can include protected species such as the kea, which are known to interact with campers—never feed wildlife.
- Be prepared for sudden weather changes and be aware of any active alerts in the regions you are traveling through. Always have a back up plan.
Thank you for checking out my NZ South Island Campervan Trip Plan! If you have any questions or need clarifications about any part of this itinerary, please don’t hesitate to contact me. You can reach out to me anytime on Instagram at @sabrinaallam_. Happy travelling! 🚐